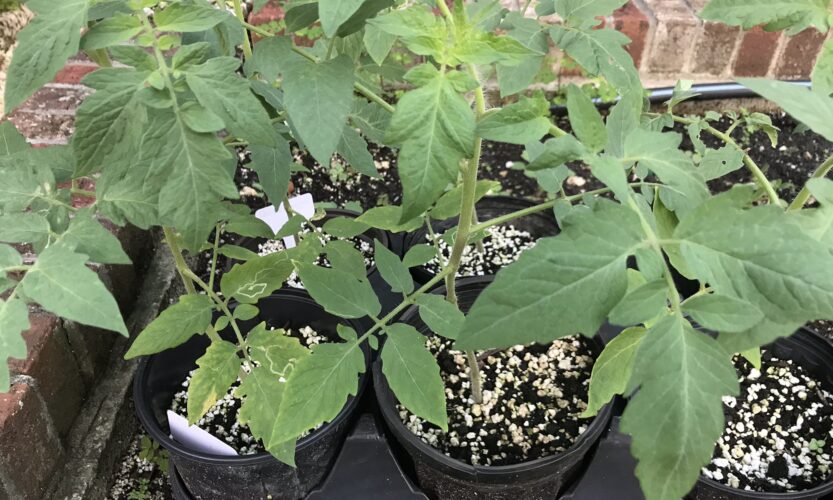
Tomato Seedlings
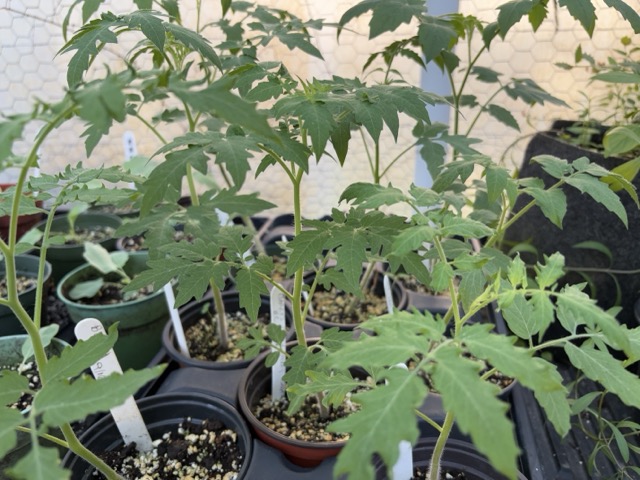
After slogging through the intense summer heat tending to empty beds, cover crops and lots of weeds, we are feeling the excitement – Fall is (almost) here! We’re getting started with lots of seedlings in trays, in anticipation of planting in our beds after the rain gods of September and early October are done with us.
‘Winter Wonderland’ of Vegetables
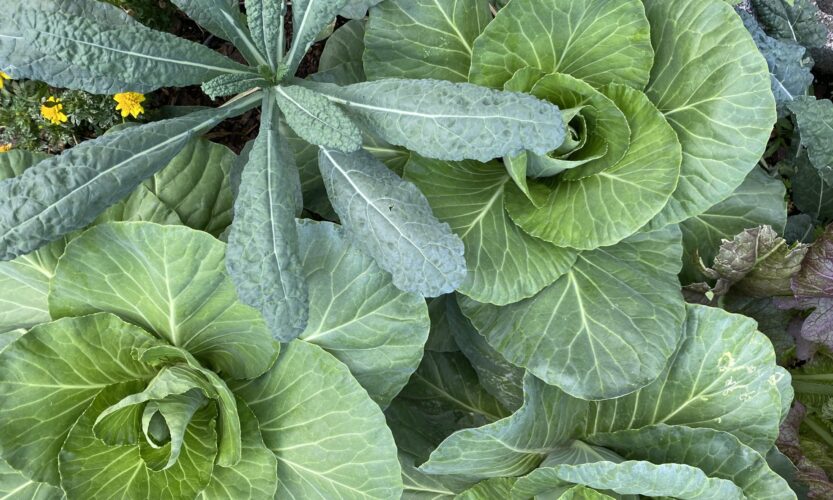
Home gardeners in South Florida are in seventh heaven right now – the weather is glorious, despite the few cold snaps we’ve had, thankfully not freezing. A “winter wonderland” in South Florida obviously does not mean a blanket of snow. Rather, it describes lush greenery everywhere and a garden thriving with vegetables! The cooler temperatures are what most of our veggies love. And of course we do too, as we can now spend countless hours (and we do lose count) fiddling around in our garden. There’s always more to do, isn’t there?
Growing Sweet Potatoes – Year Round!
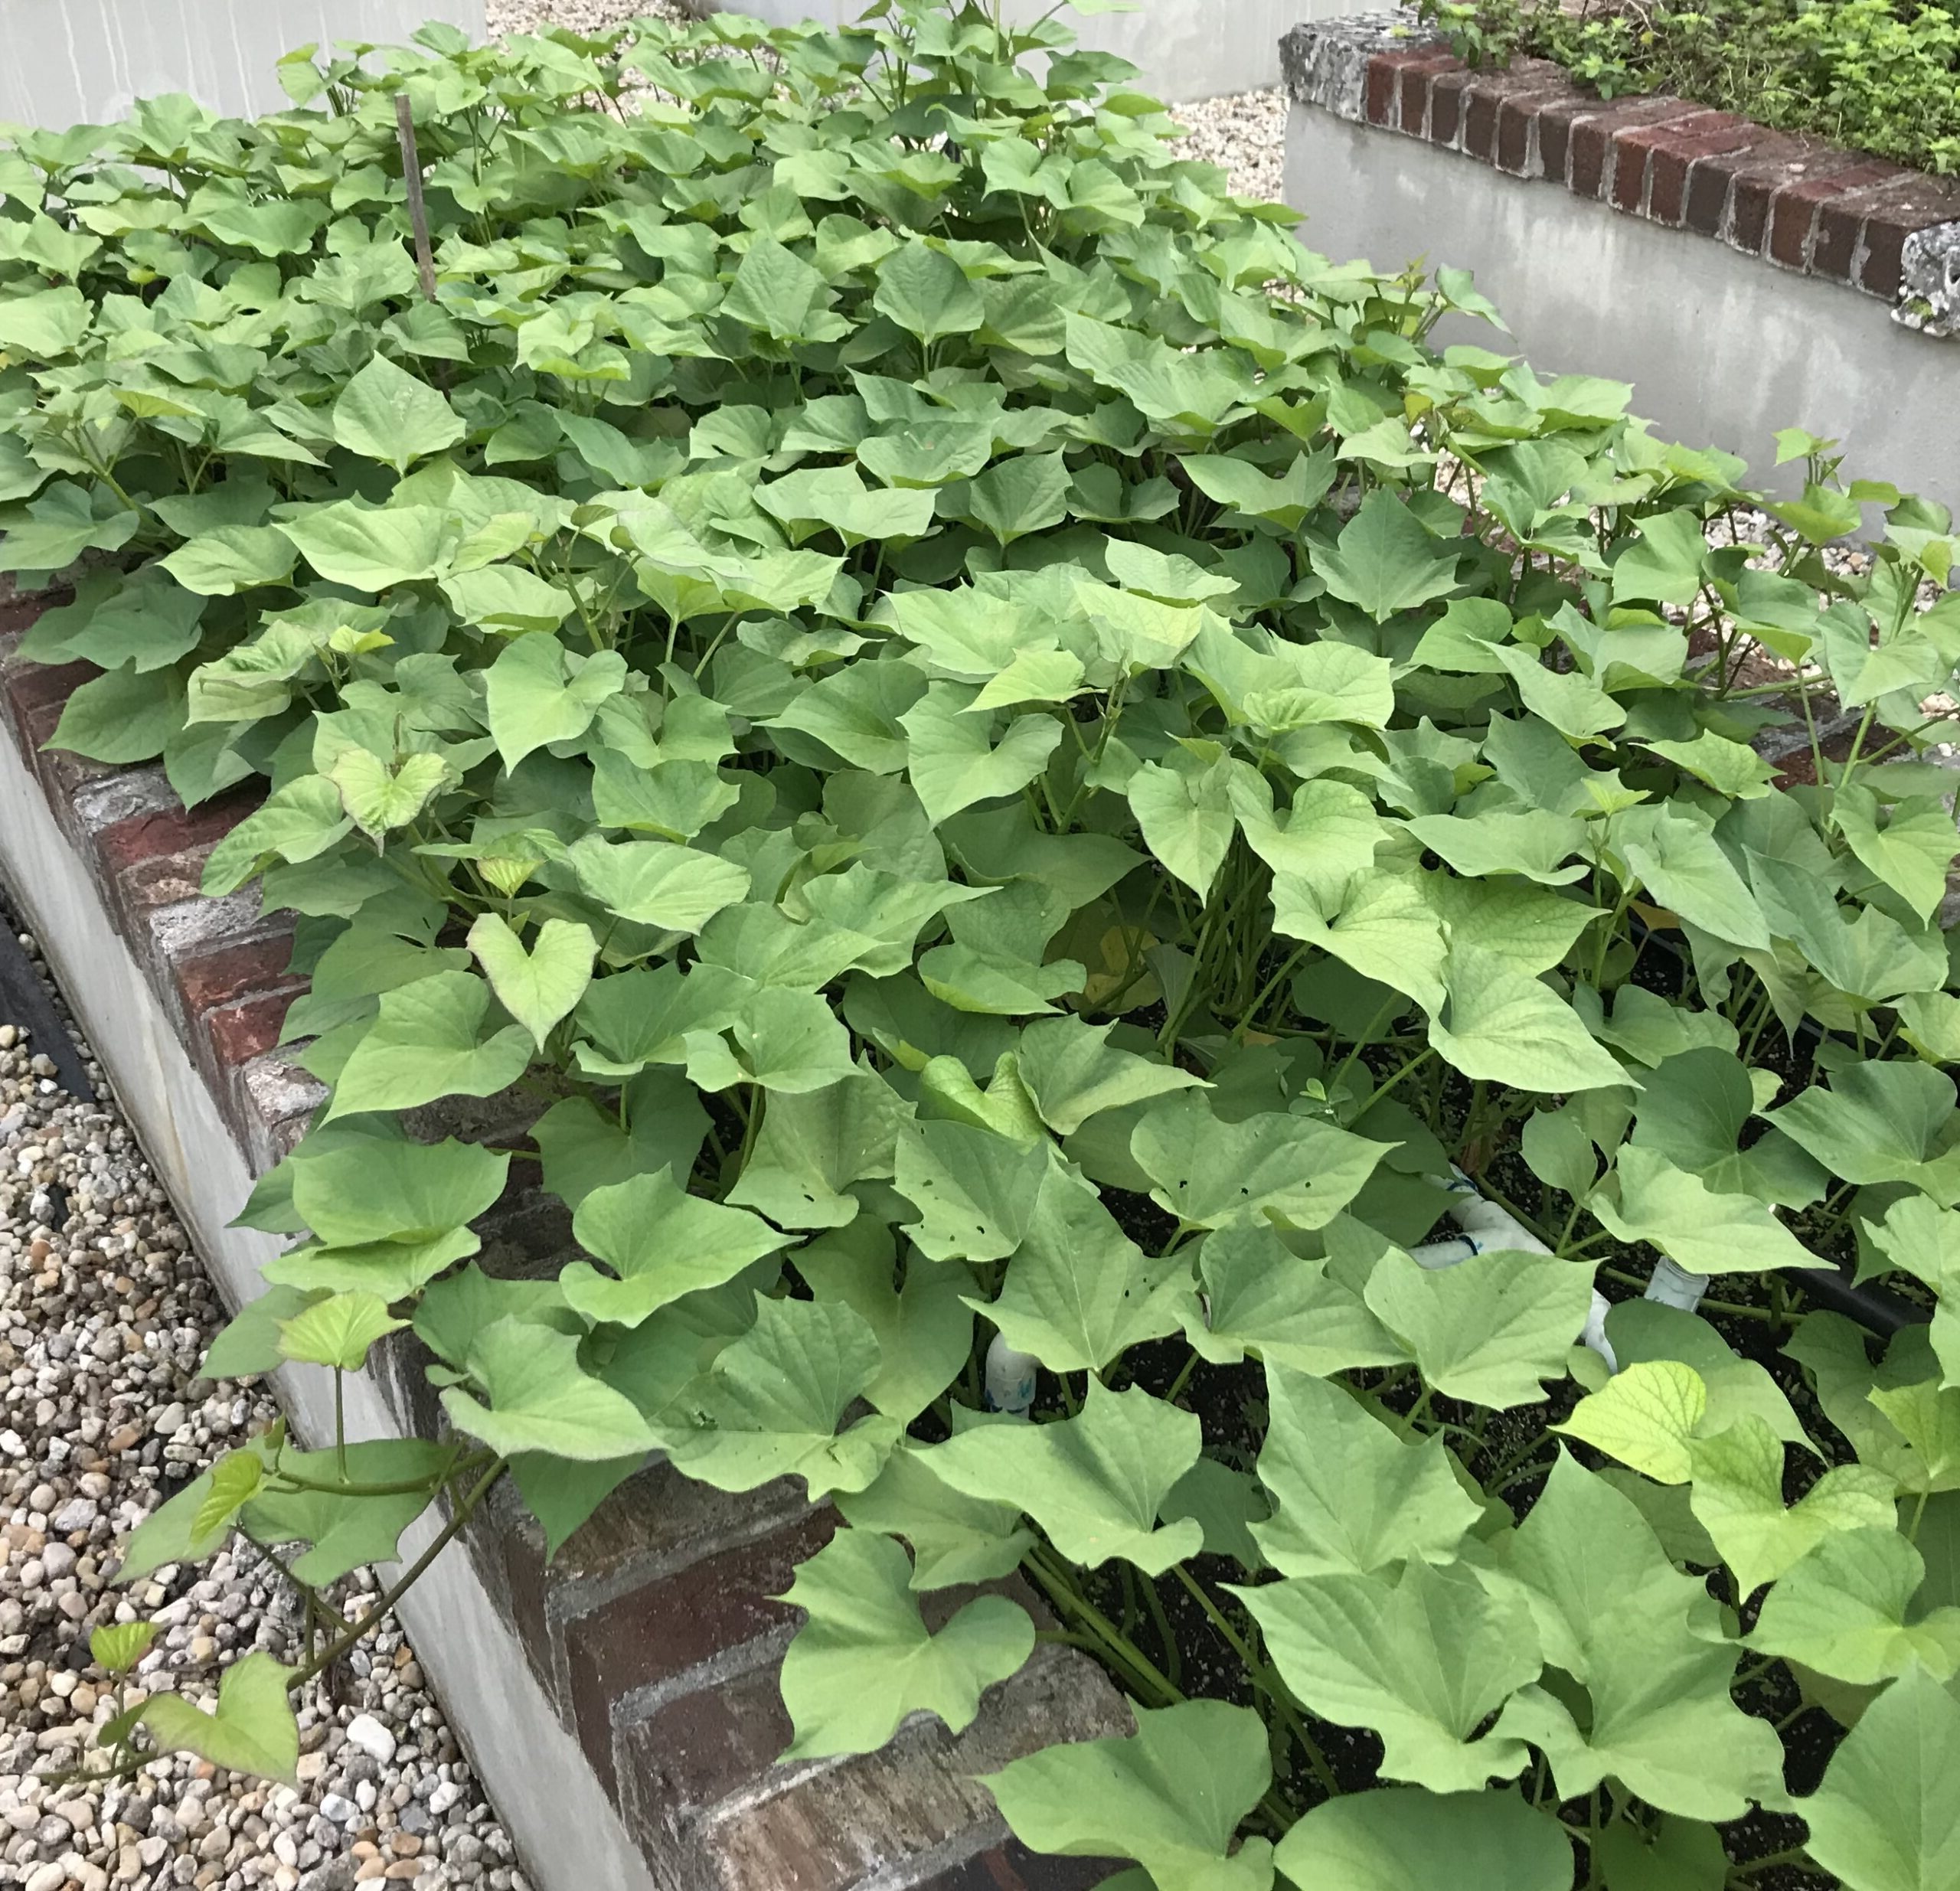
Sweet potatoes love our South Florida climate, and we love them back! They are such a fun and easy crop to grow here, from getting them started, to watching them thrive, to the treasure hunt of harvesting, and then of course using them in a variety of ways to please the palate. Here we will take you through this process, step-by-step, and provide some helpful tips along the way.
The Peacock Challenge
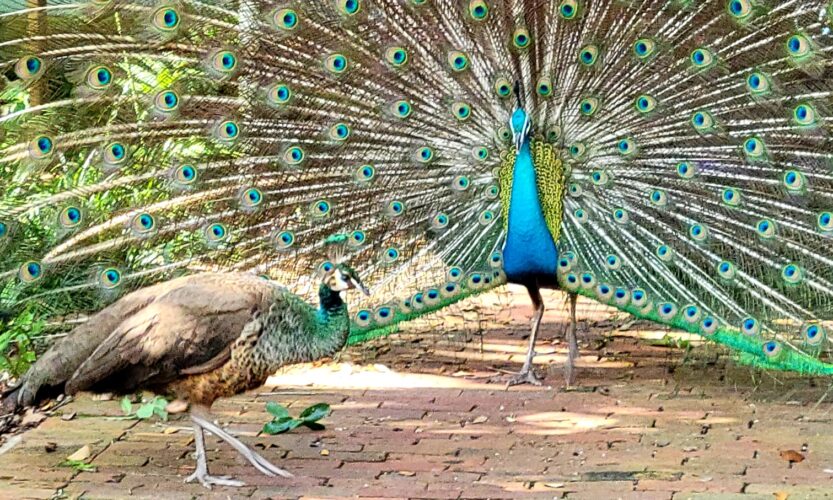
Each gardening season nature throws us a new curve or two to keep us on our toes. The peacock challenge this year was especially daunting, as we went from one strategy to another that didn’t quite solve the problem. Yes, the peacock is a beautiful creature, and we did not want to hurt them; however, how frustrating is it when they come in and destroy weeks or months worth of effort in the garden?
Summer
July is an interesting time in a South Florida vegetable garden. In the past we have grown a variety of edible tropical summer plants in the heat here, but not so much anymore. There’s been so little interest in harvesting them or it just doesn’t pay to battle the influx of insects that plants draw at this time of year. So – no luffa, no black-eyed peas, no bitter melon, no tropical spinaches that nobody wants to use… This season’s summer crops are limited to okra, eggplant and long beans, along with an ongoing harvest of sweet potatoes – all of which our gardeners enjoy. (If you’re an okra lover, check out our recipe page here for three different dishes). And if you want to know what some of those summer crops are that we don’t grow, here is one of many articles which you can access online: “Growing Vegetables in South Florida”. Be sure to indicate “South Florida” in any searches you do since our growing season is quite unique compared to most of the US.
“The Year of the Tomato”
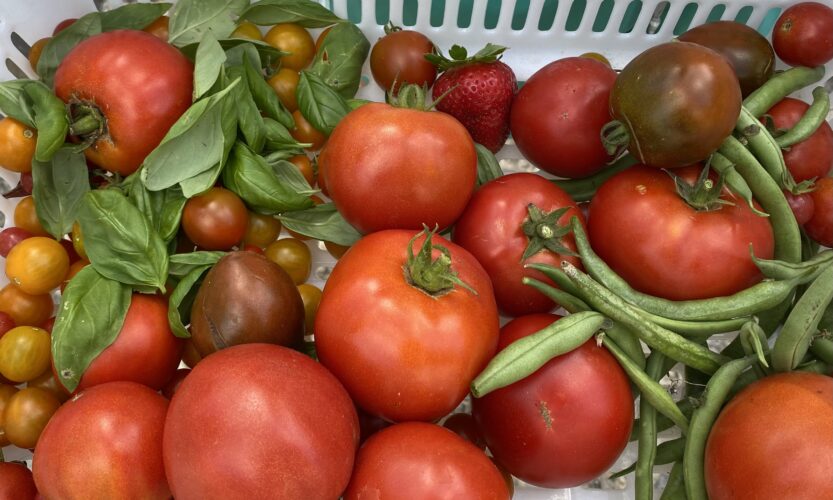
We sometimes dub a growing season, especially when its harvest is peaking, as “The Year of…” – depending on what did really well that year. I remember quite vividly our Year of the Nasturtium as our garden was blanketed with their flowers in a variety of colors and the bees were quite happy to visit! Other crops in contention for the title have been kale, fennel, cabbages, green beans, and sweet potatoes – all bringing a particularly abundant and joyful harvest in a given year. Here are some key points that got the tomato this past season’s (20-21) royal title:
Fall Planting Time Begins!
Every year we post about the excitement of fall planting time, and this year is no exception. With the temperature beginning to drop a bit now, we do tend to get over-enthusiastic, we can’t help it. Not just because we’ve had enough of the heat, but also because we can start putting some of our favored crops in the ground without killing them.
Fall Bed Prep
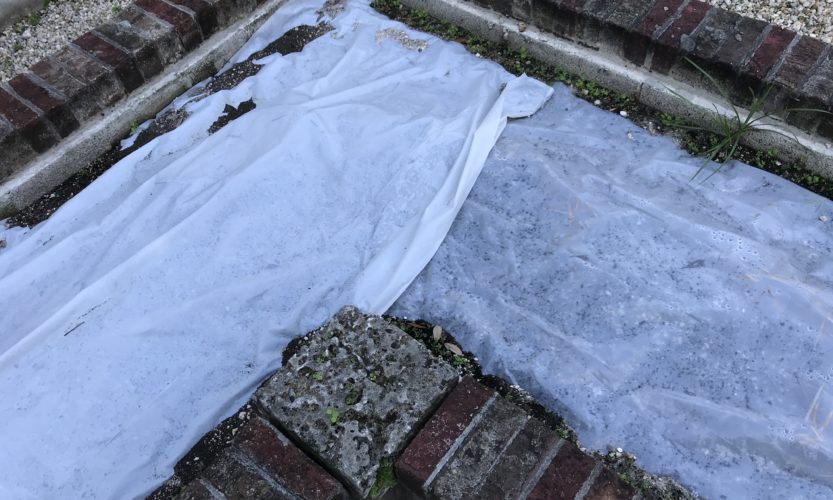
As another regular growing season (ie, fall-winter-spring) is winding down, we are beginning our fall bed prep. Don’t get me wrong, we still have some lingering harvests to enjoy – chard, onions, kale, collards, cucumbers and carrots, bok choy, celery & celeriac, French sorrel, and a nice variety of herbs. (We get less sun than a typical South Florida vegetable garden, which extends our harvest in the late Spring.) We will also be enjoying a few heat tolerant crops throughout the summer – hot peppers, eggplant, sweet potatoes, bok choy (“joy choi” in the summer) and okra. We do not plant a large variety in the summer as we have found over the years that a)crop usage is minimal for the effort they take to grow and b)keeping up with the insects on new plantings in our summer climate is nearly impossible. It is so darn hot to be battling insects out there. And we don’t want to cultivate nonbeneficial pests waiting in the soil for our fall crops either!
Preparing for the Fall Garden
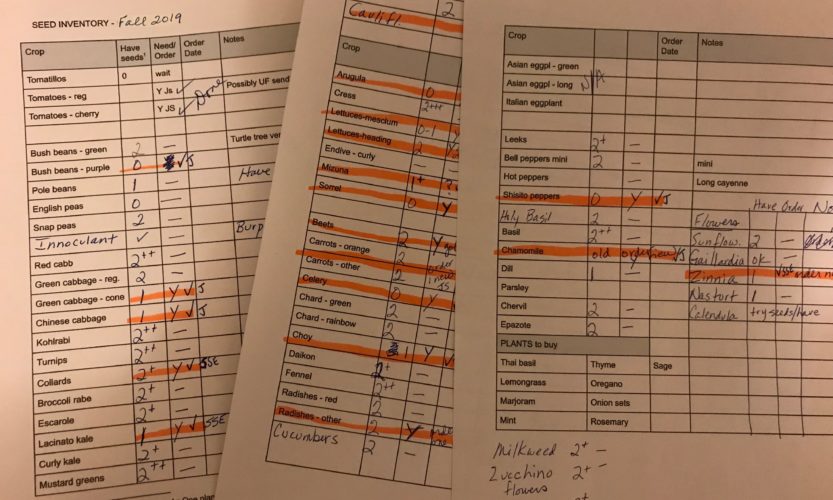
Fall 2019
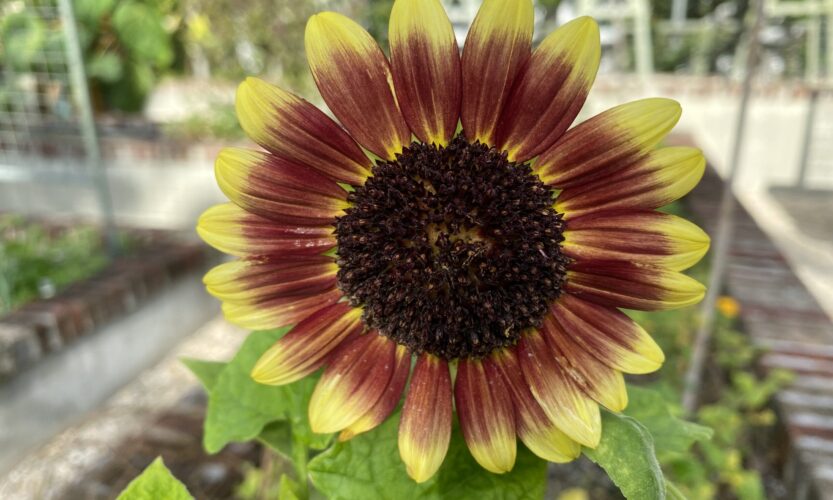
August and September – hereafter referred to as summer months – are sooo hot in South Florida, and in our garden there is very little growing to harvest and cook (besides some okra and a few herbs). The remainder of the spring vegetables have finally given their last breath (would you believe we harvested a few leeks and some chard in August?!); the sunflowers are wilted and gone; the herbs are either bid farewell to or hanging tough through the summer heat depending on their durability. We said goodbye to the sorrel, basil and tomatillo plants recently, sad to say, they just gave out.
Square Foot Gardening – We’re in Love!

Square foot plant spacing chart
Sq ft Gdn’g – Plant Spacing Chart So Fla 10-25
Several months ago I was exposed to the technique of square foot gardening, when an older edition of this book was loaned to me. Well, this approach seemed just plain weird – why bother planting everything all packed into little squares, what’s the point? And so many different things in one bed, kinda chaotically? And to bother doing the work to divide a bed up all precisely like that? Well, as they say, “Don’t knock it ’til you try it!” Now that we’ve tried it, we’ve fallen in love with it. No, not just a fly-by-night infatuation, this is true love!
We are a small group of South Floridians who share a love of organic gardening, cooking and leading a healthy lifestyle. We garden together in Miami on a weekly basis year round, and enjoy the labor, harvest and feeling of community that this provides us. We are learning together what it means to grow food in South Florida, with our unique climate and seasons, which are so different than the rest of the country. This website is a venture in sharing information and resources relevant to gardening (and enjoying the harvest) in our South Florida environment. We hope you will find it useful!