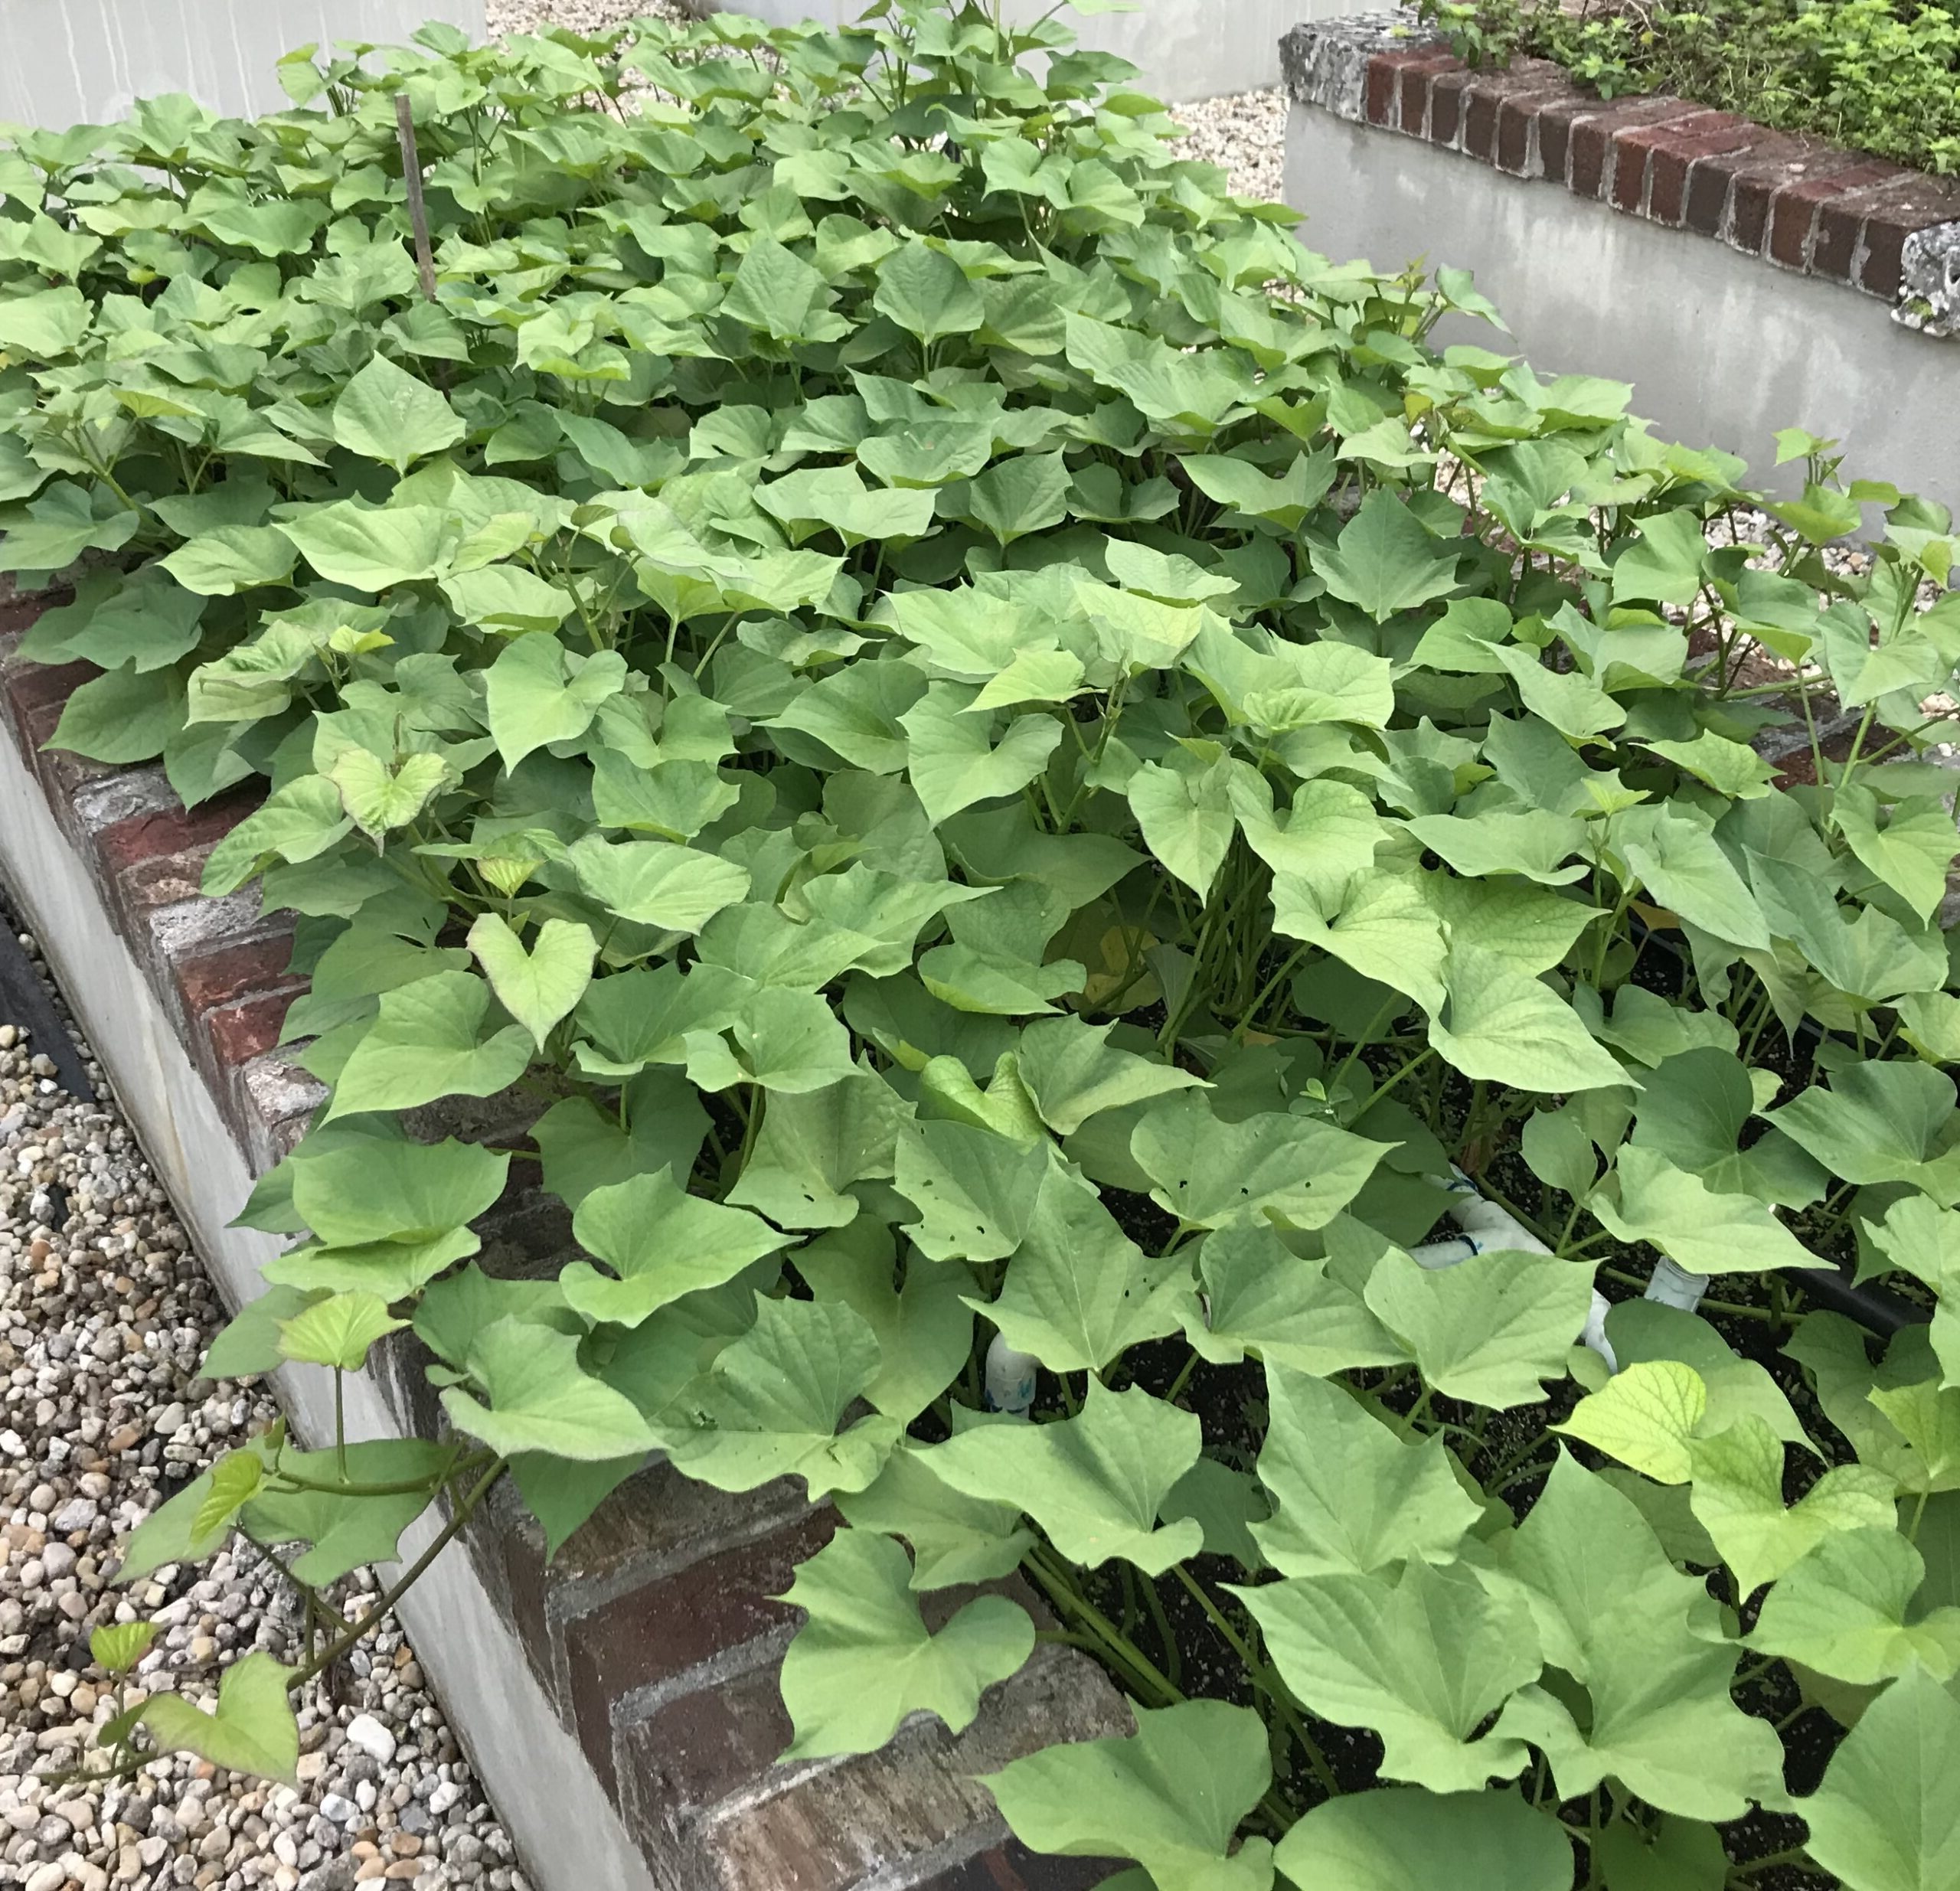
As another regular growing season (ie, fall-winter-spring) is winding down, we are beginning our fall bed prep. Don’t get me wrong, we still have some lingering harvests to enjoy – chard, onions, kale, collards, cucumbers and carrots, bok choy, celery & celeriac, French sorrel, and a nice variety of herbs. (We get less sun than a typical South Florida vegetable garden, which extends our harvest in the late Spring.) We will also be enjoying a few heat tolerant crops throughout the summer – hot peppers, eggplant, sweet potatoes, bok choy (“joy choi” in the summer) and okra. We do not plant a large variety in the summer as we have found over the years that a)crop usage is minimal for the effort they take to grow and b)keeping up with the insects on new plantings in our summer climate is nearly impossible. It is so darn hot to be battling insects out there. And we don’t want to cultivate nonbeneficial pests waiting in the soil for our fall crops either!
Each week we find ourselves pulling out old crops that are done, and clearing some of the beds. Part of our fall bed prep includes deciding on what method we want to employ with empty (or partially empty) beds. We have several options:
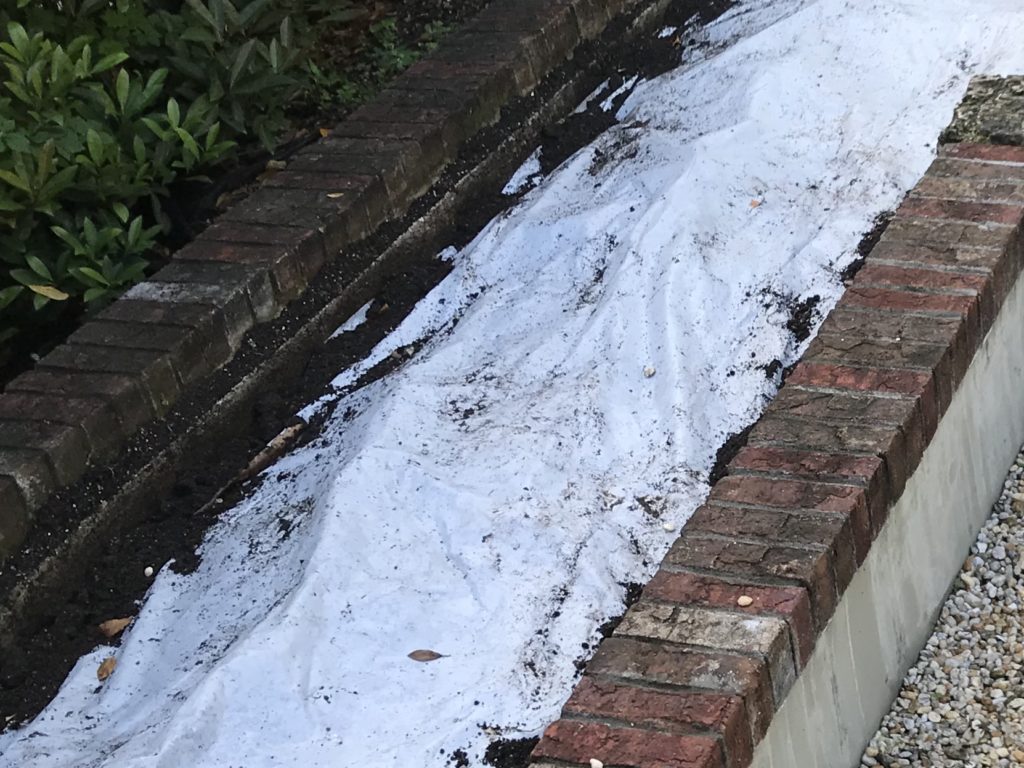
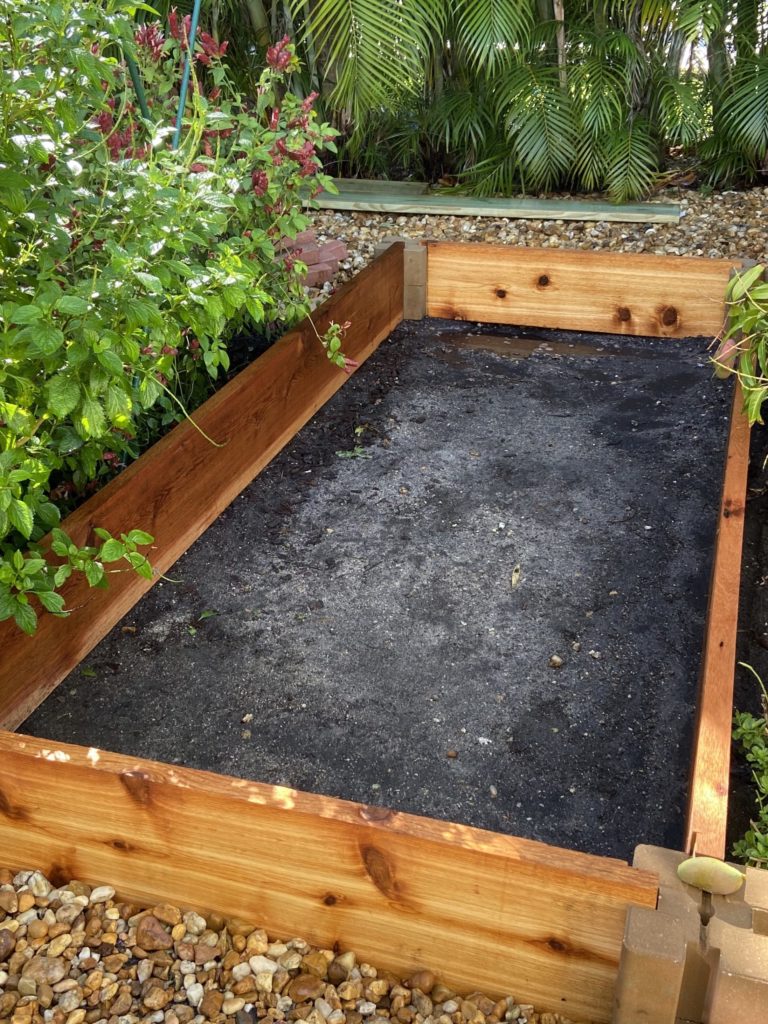
Solarized bed – June 2020
1. Solarizing the bed. Please see the post Fall Season – New Gardening Strategies . The adaptation we have settled upon (for now) is to build up a dirt mound down the middle of the bed which creates a slope for water run-off, and then use additional dirt around the border over the plastic to hold it in place. This is not ideal (as the dirt can cool off the bed when wet; however trying to tuck in the plastic with the shape of our beds is too cumbersome and tends to eventually create pockets for water to gather. That cools the soil underneath and becomes a great breeding ground for mosquitoes this time of year!)
Which beds do we solarize? First and foremost, the ones we grew tomatoes in this past year. The attack of nematodes on the tomato plants’ root systems this year was pretty severe. Solarizing will kill nematodes down to a certain depth but will not completely eliminate them. That is why it’s important not to dig up the soil after solarizing is done and the cover is removed – at that point, it’s best to add compost/nutrients to the top surface and mix them in minimally.
We may also solarize a few other beds, depending on various factors – perhaps, if we plan to put tomatoes in the bed this fall (we never repeat tomatoes in a particular bed from one season the the next); if we think a bed needs it based on its performance this past season; or if it’s an area very prone to weeds and we want a break from that constant chore this summer.
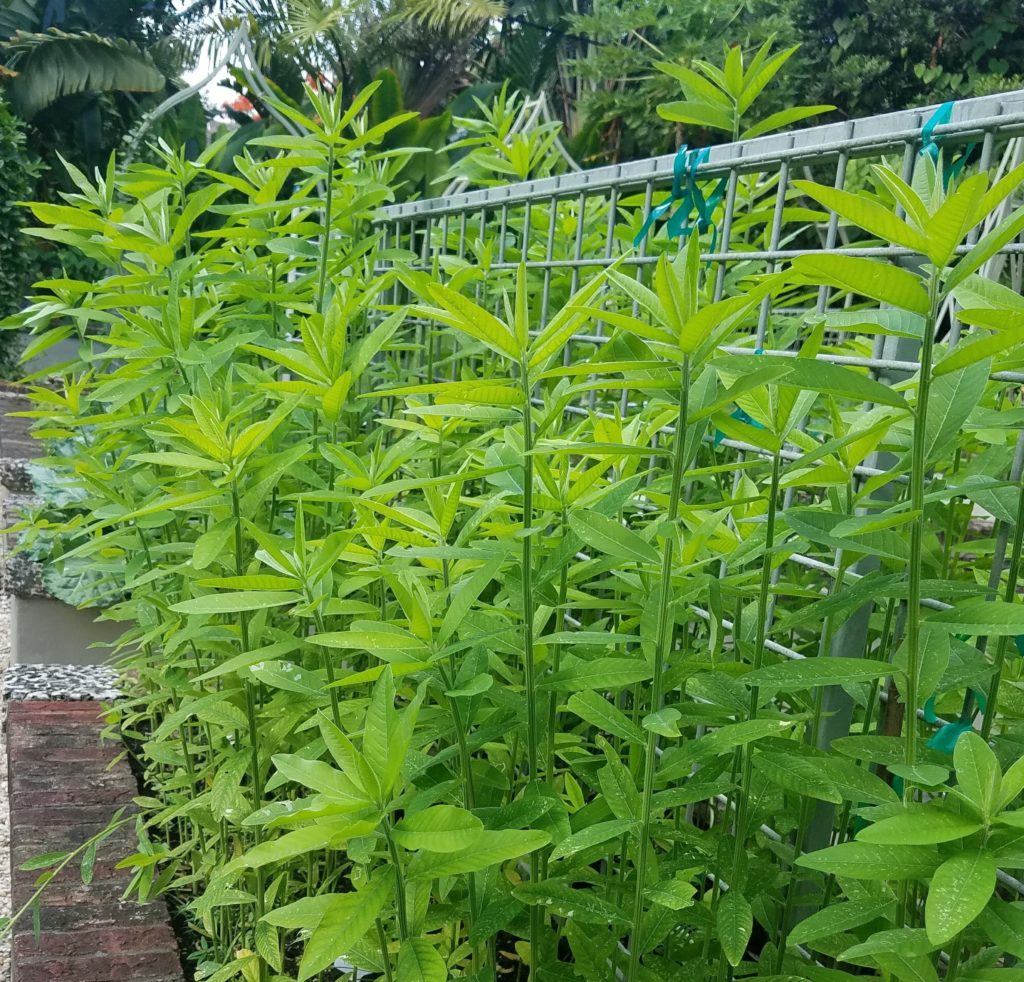
Sunn hemp – previous season
2. Planting cover crops – definitely see our post Summer Cover Crops. While we largely abandoned this method last year due to solarizing most beds, we’ve decided to give it another go this summer. We typically refrain from food producing covers such as cow peas because of the incredible aphid infestation they tend to bring in. We had great success with the Japanese millet and sunn hemp and will go that route again. In fact, we just purchased new seeds for both these crops from Green Cover Seed. The key is in the harvesting technique and timing to have the soil ready for fall planting. Seeds will need to go in soon so the crops have time to break down before new fall plantings.
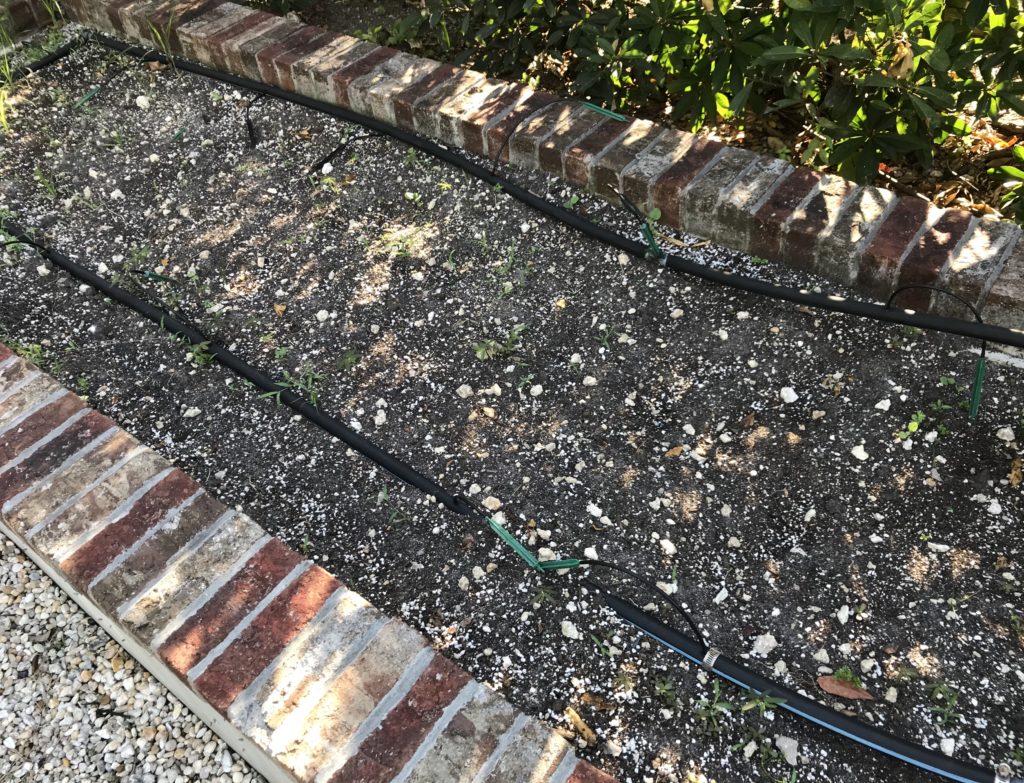
A time to rest
3. Just allowing some beds to go fallow. We may choose this method for a few of the beds, which will give them some “rest.” It also means a lot of weeding – about every two to three weeks, the weeds are back and well established in a bed during the summer. The heat and rain definitely support their growth. We try to catch them before they start shedding seeds in the bed; nevertheless, once we pull them, they will start coming back sooner than we’d like. With solarizing and growing in other beds, though, it minimizes the number of beds we have to keep weeding.
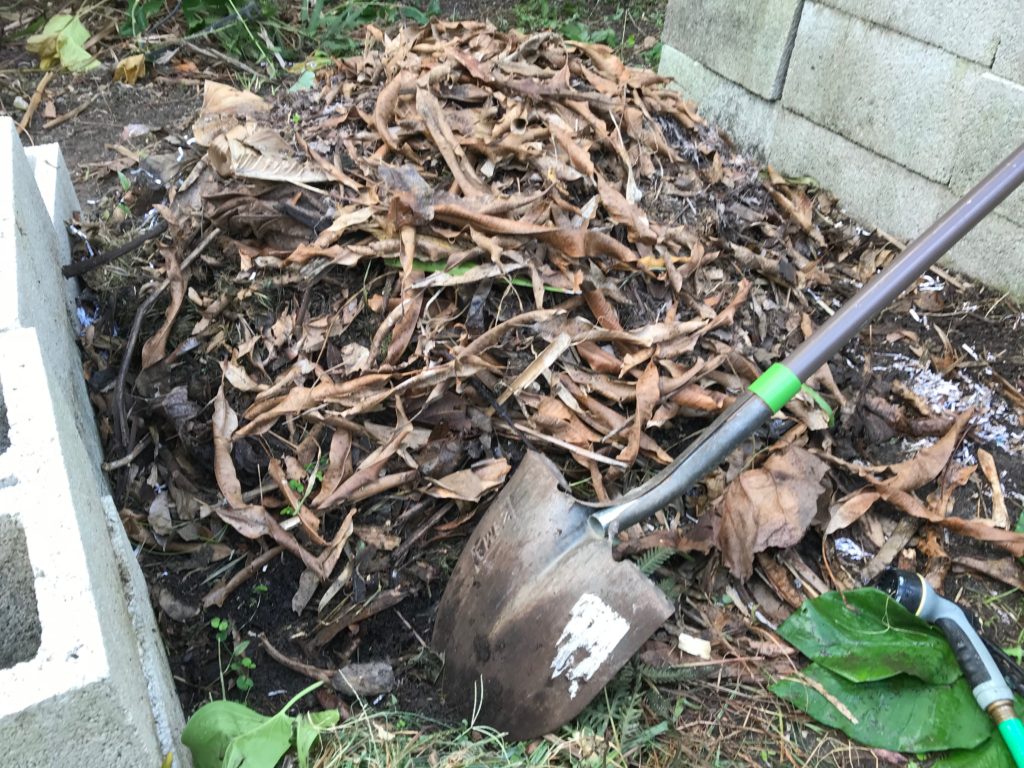
Composting Never Stops!
No discussion of fall bed prep should leave out the topic of composting. It is such an easy way to produce one of the most beneficial ingredients for your garden’s health and success. We amp up our production in the summer in order to be ready for the fall season, adding compost to the top layer of soil before plantings. Please see the post Compost It! for more information. There are also lots of resources on composting on the University of Florida’s Agricultural Extension’s website; this page has a whole section of links: Miami-Dade UF-IFAS. One particularly helpful article on their site is Compost Tips for the Home Gardener. You can also watch their calendar of classes and events (once these open up to the public again) as they frequently offer classes on composting; some classes even offer a free composting bin.
Well, those are the methods we are currently using to prepare the beds for our fall plantings. One question that some of you may have is “What if I am starting from scratch with a new bed? How should I fill it?” We recommend that you get good soil from a local nursery that really supports home gardening. Our favorite is Tree Amigos up in Davie; they are friendly, extremely helpful and knowledgeable and full of integrity. You can also buy compressed bales of potting media and add bags of composted manure to it – these are available at big box stores or possibly at a slightly lower price at Homestead suppliers. See more about growing media here: Preparing the Soil – Update
Starting a raised bed garden?
And one last thing: for information on building your own raised bed (it’s really easy!), here are a few links to help you: Video: UF/IFAS – Building a Raised Bed and UF/IFAS: Building a Raised Bed Vegetable Garden the Easy Way.
Happy Gardening, and preparing for the new season!
We are a small group of South Floridians who share a love of organic gardening, cooking and leading a healthy lifestyle. We garden together in Miami on a weekly basis year round, and enjoy the labor, harvest and feeling of community that this provides us. We are learning together what it means to grow food in South Florida, with our unique climate and seasons, which are so different than the rest of the country. This website is a venture in sharing information and resources relevant to gardening (and enjoying the harvest) in our South Florida environment. We hope you will find it useful!