Last season I wrote a post explaining how we go about preparing the soil for planting which you can find here. Well…. this is a new season, with “more water under the bridge” – and new knowledge gained through experience, the advice of experts and our own research and reflections. Therefore I want to update last year’s post with what new ways we are preparing “soil” – or better said “growing media” – to start and grow our veggies. Don’t get me wrong – most of what I said last year still stands. Where we’ve significantly changed a practice that I touted back then, I will indicate it here and in that post as well.
(If you are interested in preparing the beds prior to adding new soil, I recommend you check out our post Fall Season – New Gardening Strategies, especially the sections on solarizing the beds, and providing for proper drainage if that’s an issue for you.)
We actually have three distinct categories for our plant “soil,” which are 1) for the flats we start seedlings in, 2) for the 4-inch pots we transplant seedlings into (when warranted), and 3) for our garden beds. We have found that each of these categories requires a different combination of various planting media – e.g. perlite, peat, composted soil, etc. With a few trial and error mishaps starting out this year, we seem to have found a balance that works for us – at least so far in the first two categories. Since this is a year of much experimentation with “soil,” we will have to see how what we’re putting into the garden beds is going to work. We will update!
You can learn about the function of the ingredients we use in our formulas below at UFL – Homemade potting mix – they also have various recipe suggestions for potting mixes.
1. How we prepare the planting media for flats:
We have always resisted buying any kind of ready made potting mixes to start seedlings in – thinking it would be better to make up our own rather than buy/use a less nutritious mixture. Well now, we’ve begun using commercial potting soil for starting our seeds in flats. Let me be clear, we are not using “seed starting mixes” – just organic potting soil, as it seems to be working just fine. One caution is to buy potting soil that is fine – free of large twigs and chunks of wood in it. (Buy one bag first and check it out.)
The benefits of using a ready-made potting soil are clear:
- Potting mixtures are relatively inexpensive.
- They have a good combination of peat, perlite and organic matter so that the seedlings are in a good media for starter flats. When we’ve made our own potting soil, it tended to be too dense – creating a lack of drainage which is a prevalent cause of seedling failure.
- They are sterile, as opposed to using our own compost and “soil” in the mix, which invariably causes weeds to come up with the seedlings. Sometimes it is hard to tell them apart when they are so tiny (and therefore to eliminate the weeds early), and the weeds are depriving the seedlings of nutrients. Garden soil may also carry pathogens and pests such as nematodes, so obviously not conducive to a good start for your plants!
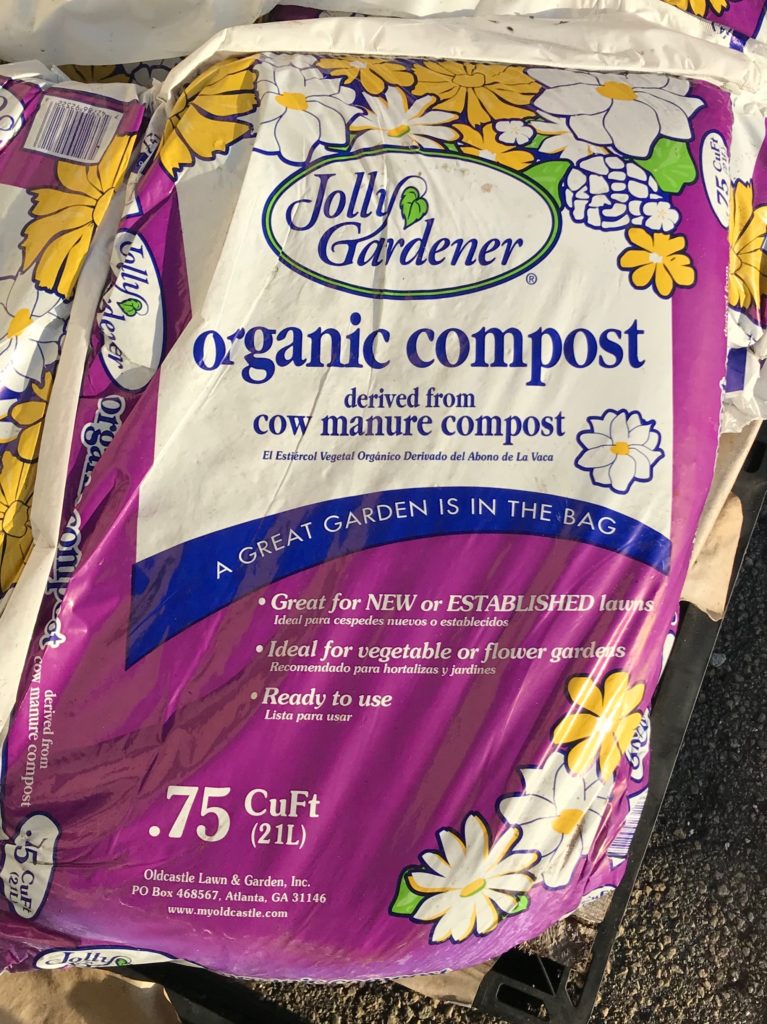
Below are two potting mixes which we’ve found effective with starting seedlings. The first one, Jolly Gardener, is available at Diamond R Fertilizer in Homestead; the second one, Nature’s Care, was purchased at Home Depot. There is a large variety of potting mixes available online or at independent gardening stores.

Potting soil – Jolly Gardener

Organic Potting mix – Nature’s Care
2. How we prepare the planting media for transplants in 4 inch pots:
This is where we see the benefits of using a homemade mixture – just a little different than what we’ve used in the past. We highly recommend that you do not use a commercial potting mix as is used with the seedling starters; it does not provide enough drainage in 4 inch pots! Without proper drainage, the roots will rot and the seedlings will languish miserably.
That said, in making our own mix for transplants we have settled upon a formula of 45% peat, 45% perlite, and 10% of something that will provide super nutrients and boost growth: either worm castings, or turkey litter, or our own rich homemade compost. This mixture works well for our seedlings, providing them with a good media to grow in and excellent drainage (which is so important) until ready for transplanting into the garden beds. After a few weeks, we apply a liquid or dry fertilizer to the seedlings in the pots to give them an extra boost for growth.
The sphagnum peat moss we use has been kindly donated to us and is unfortunately not locally available; however, you can readily find peat moss and Perlite at Home Depot and Lowes as well as local gardening supply stores. We favor the turkey litter and worm castings from Tree Amigos in Davie; you can find some also at the big box stores, can’t vouch for the quality. As for our homemade compost, well, you can read all about that here: Compost It!
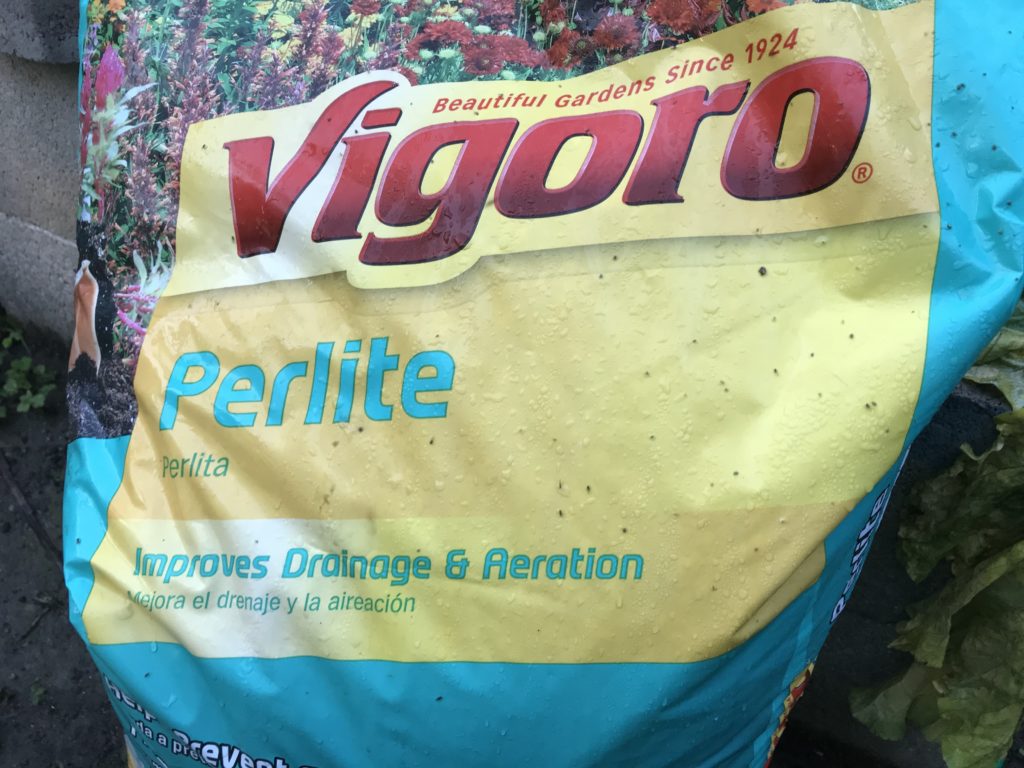
Perlite
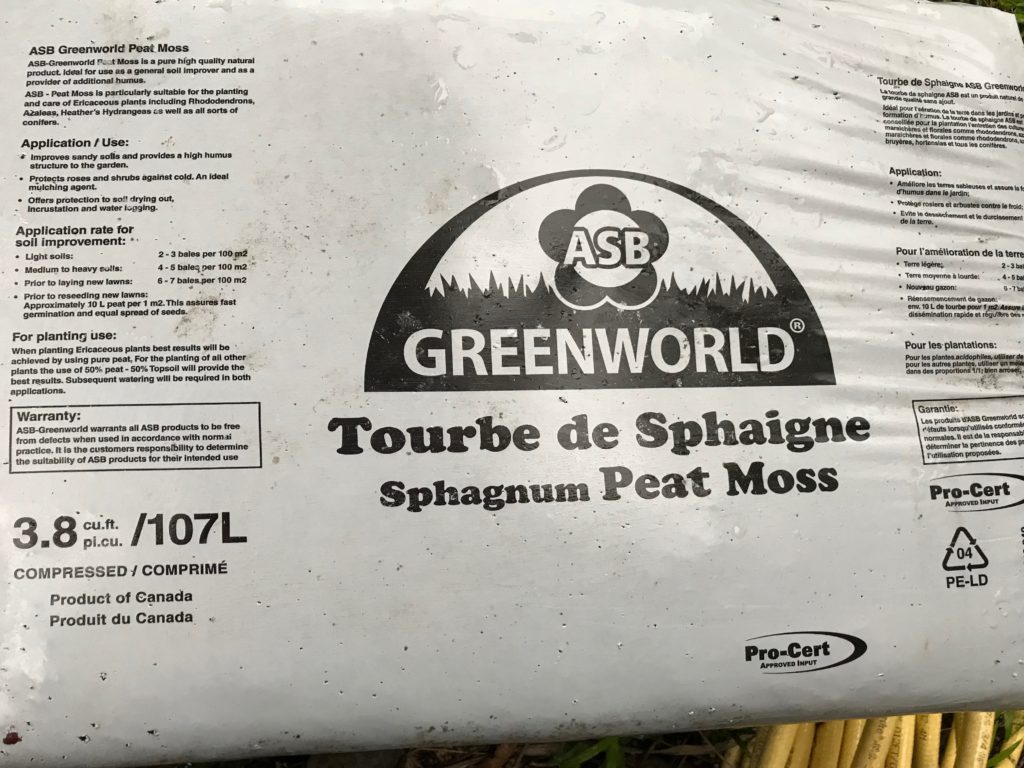
Sphagnum Peat Moss
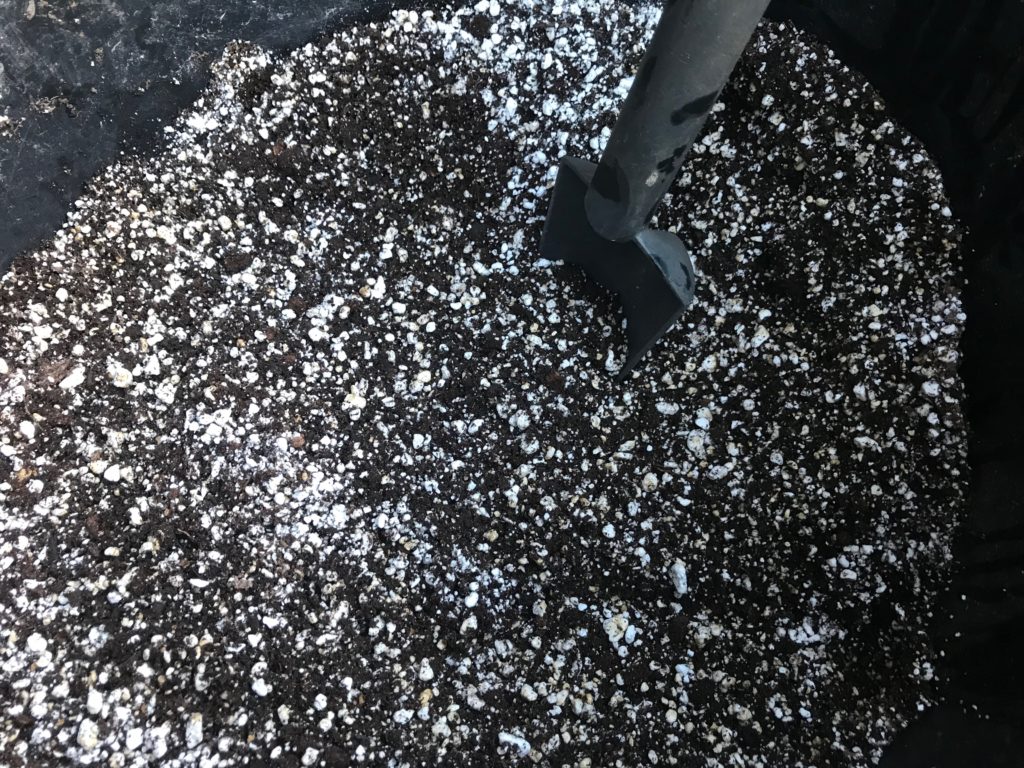
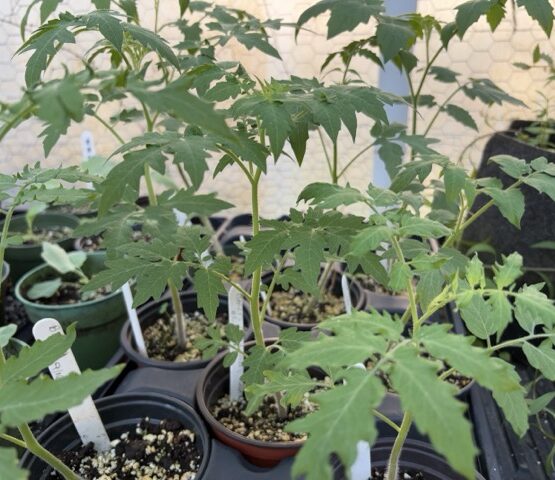
Homemade potting mix for transplants
3. How we prepare the planting media for our garden beds:
The biggest change we have made in this category is to add a substantial amount of perlite to what we are using. Right now we are mixing the following together in equal amounts (one-third each):
- Composted soil from tree mulch (source/process explained in this prior post mentioned above)
- Peat moss
- Perlite (or, a mixture of 5 parts Perlite to 1 part Vermiculite, if desired)
After preparing the soil by thoroughly mixing these three components together in the top portion of the bed, we may also add some purchased composted manure, i.e. a thin layer mixed in at the surface. Once our mix is ready for planting, we will add our own homemade rich compost to the soil where each plant is transplanted. Because we have so many beds in our garden, we cannot possibly add our compost to all of the soil at once, so we use it in a very concentrated way.
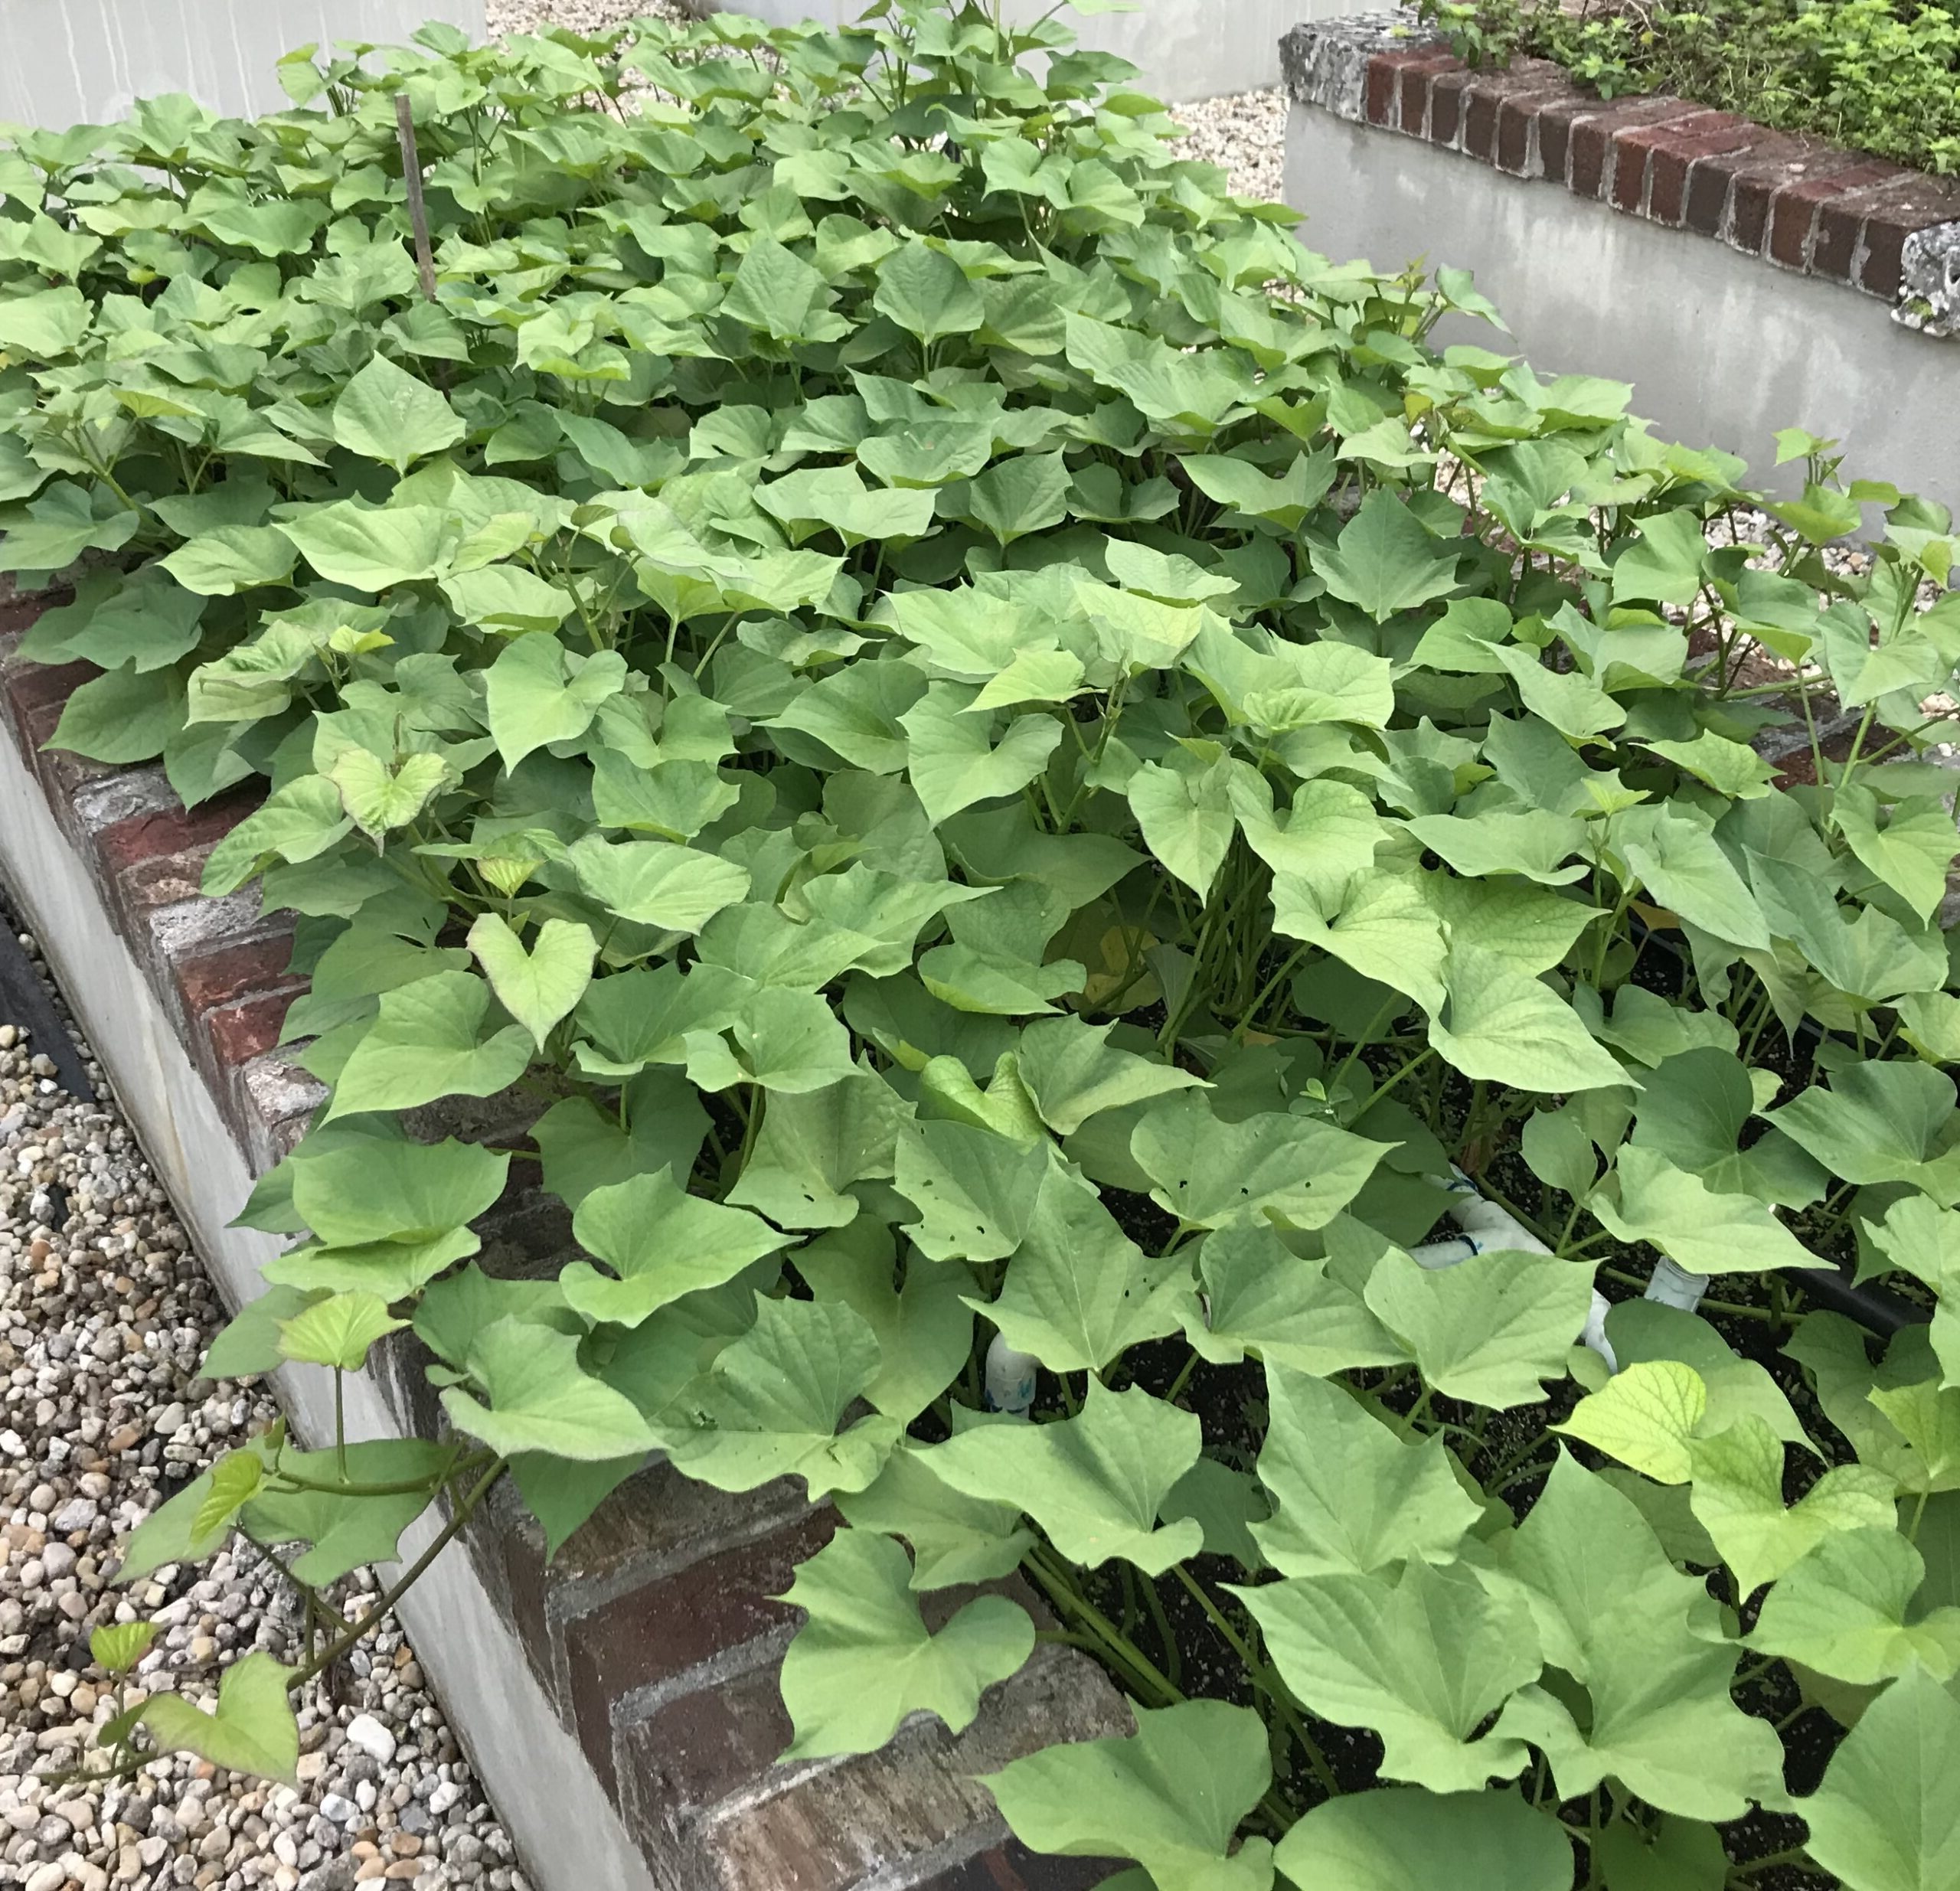
We have also experimented (new this year) with buying compressed bales of potting media and adding our own compost or commercial composted manure to it – recommended by a local gardening expert. The problem with that is, we already have so much peat and composted soil on hand, that we decided to use that up before considering converting to the compressed bales as our main media. We do have a few beds we’re experimenting with using the bales, and our plants are doing well in it so far this year, in fact, we are growing much better vegetables in this media than in anything else we’ve used. We have decided to continue, little by little, to convert our beds to this media.

Compressed bale of potting media
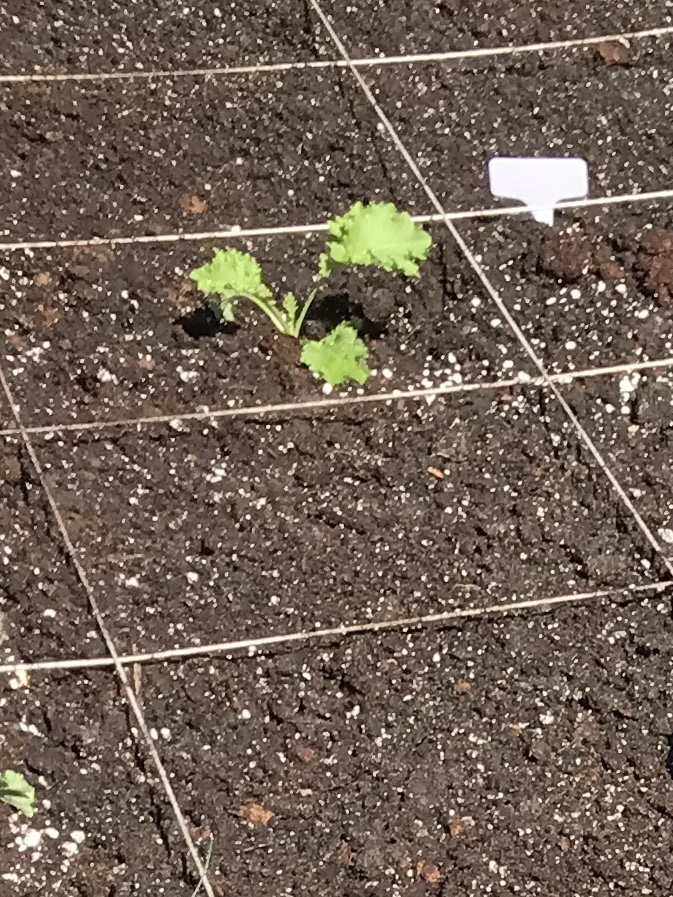
Ready to plant!
So that’s our update on preparing the soil. As we continue to experiment with what works best for the food we grow in our organic garden, we will share what we’ve learned. Be aware that there are many, many suggested formulas out there that you can access – the key is in your experimentation and finding what works for you. Happy Gardening!
We are a small group of South Floridians who share a love of organic gardening, cooking and leading a healthy lifestyle. We garden together in Miami on a weekly basis year round, and enjoy the labor, harvest and feeling of community that this provides us. We are learning together what it means to grow food in South Florida, with our unique climate and seasons, which are so different than the rest of the country. This website is a venture in sharing information and resources relevant to gardening (and enjoying the harvest) in our South Florida environment. We hope you will find it useful!