Compost is one of the main keys to a healthy, thriving organic garden. We used to be able to buy some really incredible ready-made organic soil, but no more. So a few years back, we set out to learn how to create our own, and found how essential it was to produce a steady supply of compost! Our two main resources, where we learned the most, was (my gardening bible!) How to Grow More Vegetables by John Jeavons, and the University of Florida’s Agricultural Extension’s resources, especially this article: Compost Tips for the Home Gardener. We learned that composting isn’t about constantly throwing your scraps into a pile whenever you had some; it is a careful layering technique in a designated area with specific dimensions and scheduled maintenance. We had a lot to learn, but now that we’ve got the hang of it, we enjoy the whole routine (although the saved-up kitchen scraps can be nasty!) and especially using the compost to enrich our vegetable garden – nothing like that rich, dark compost that we know is chock full of nutrients!
Creating the compost for our garden is a group endeavor. Members save and bring in their kitchen scraps, and in addition we have ongoing support from a facility’s kitchen nearby that saves us their fruit and veggie scraps, which is a big help. Free dried manure is accessible through one of our member’s chicken farm. We also have the benefit of the weeds and plants that are pulled after harvesting is done, stored right on our property to use for compost when we need it. Members also bring in bags of brown leaves they’ve raked up at home. So we’re really lucky to have all the ingredients we need readily available for composting!
While we carry on our composting routinely year round, we do amp up production during the summer in order to prepare nutrient-rich soil for fall plantings. Creating composted soil correctly is a methodical, multi-step process:
- Choosing a good spot – shady, with air flow, and a minimum of 3 ft by 3 ft. We make ours on the ground; compost containers and built structures can be used as well (see Jeavons’ book).
- It starts with saving kitchen scraps until we have enough to start (or add another layer to) a pile. This includes fruit and vegetable scraps (including citrus) and eggshells. We refrain from adding large amounts of seeds to avoid a mini-garden sprouting in our compost pile. No meat, fish or dairy products go in the compost.
- Gathering your other materials to build the compost layers: small twigs and brown (decaying) leaves, harvested weeds (not seeded) and green harvested plant scraps, dried manure, and soil.
- Build your layers, and water each one as you go:
- Brown: twigs and leaves
- Green: manure, green plant parts & weeds, kitchen scraps
- Soil
- We typically build two layers, if not on the same day due to lack of enough green items, then subsequently within a week or so.
- Keep the compost pile moist by watering when needed.
- Once the pile has heated up, within a few weeks, the compost gets “turned” – digging the outer parts to the inside and the inside parts to the outside. This enables the outer parts to heat up and “cook” as well.
- The compost can be ready in as little as 6 to 8 weeks, depending on the heat and moisture levels. It’s ready when it is dark, rich and crumbly, and the green scraps have deteriorated. We typically allow ours to cook for about 12 weeks, sometimes more in the “cooler” months.
- We use our compost as dressing for individual plants or mixed in with a bed’s soil before planting. Often it’s placed in the hole we dig for transplants which gives them a nutrient boost.
The benefits of having composted soil available for your garden are numerous. It is worth researching and getting started if you have the resources to do so. We have friends who make it at home just to fertilize flowers and trees in their yards. It’s such a great feeling to turn those kitchen scraps into an incredibly useful product!
Writing & Photos by D.K.
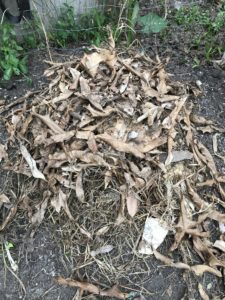
Brown layer
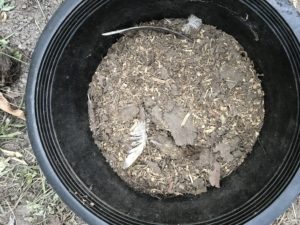
Dried chicken manure
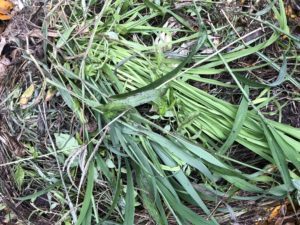
Green plant waste
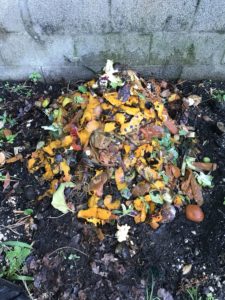
Kitchen scraps
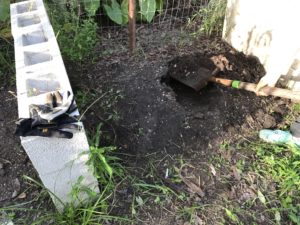
Turning the compost
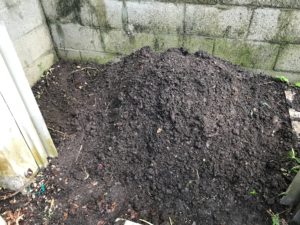
Compost pile – it’s cooking!

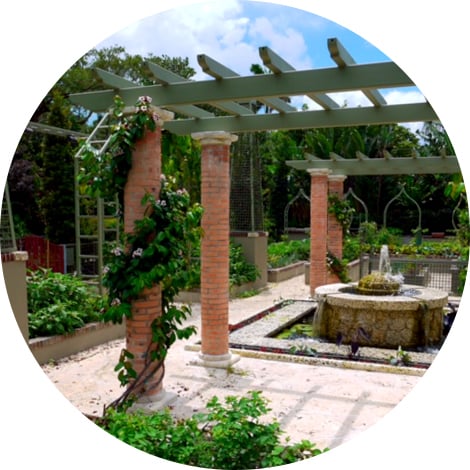
We are a small group of South Floridians who share a love of organic gardening, cooking and leading a healthy lifestyle. We garden together in Miami on a weekly basis year round, and enjoy the labor, harvest and feeling of community that this provides us. We are learning together what it means to grow food in South Florida, with our unique climate and seasons, which are so different than the rest of the country. This website is a venture in sharing information and resources relevant to gardening (and enjoying the harvest) in our South Florida environment. We hope you will find it useful!