Several weeks ago I wrote about our bountiful Spring harvest in South Florida – it’s prime time! for vegetable gardeners here. That post described several of the organic crops we grow. Well, here’s some more – this is a continuation, describing more of our mid-Spring harvest, if you will.
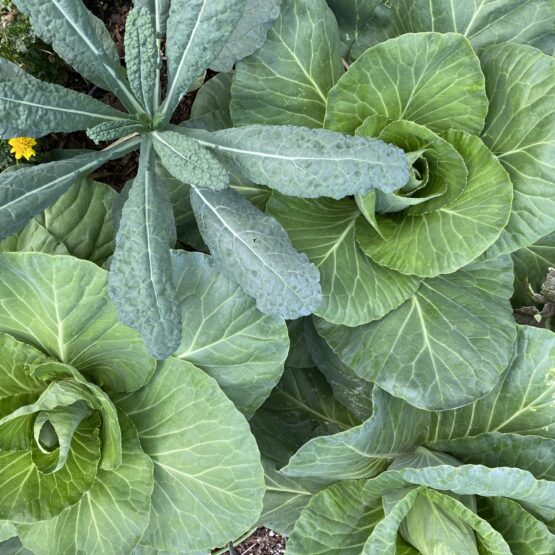
KALE
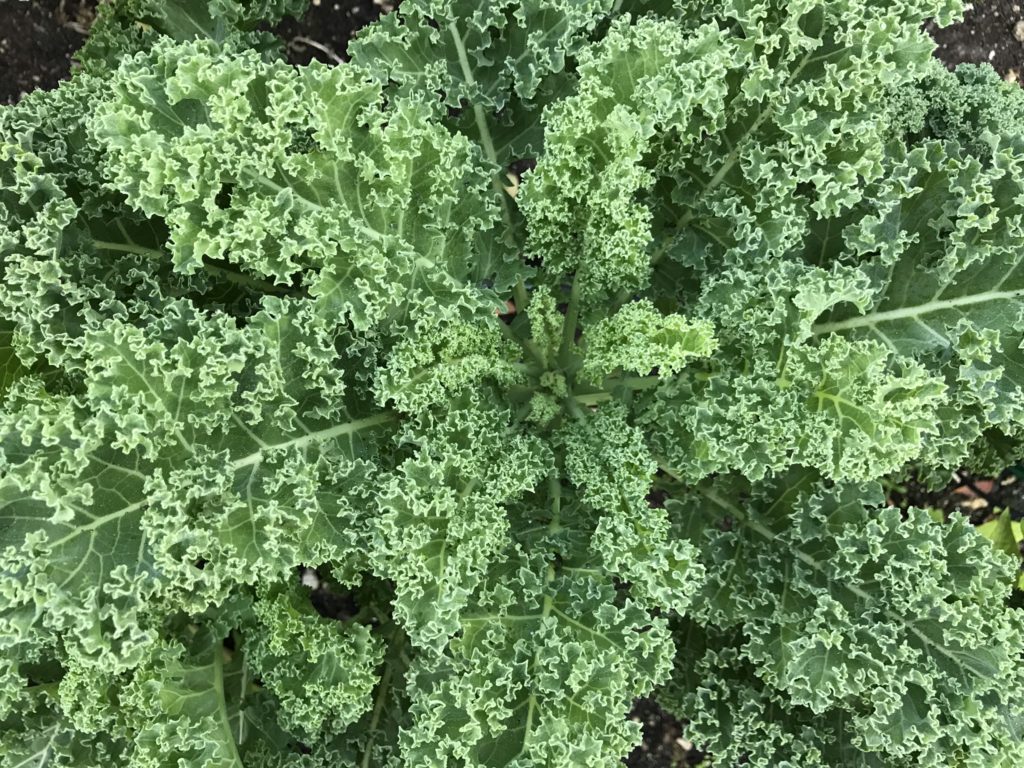
Curly kale
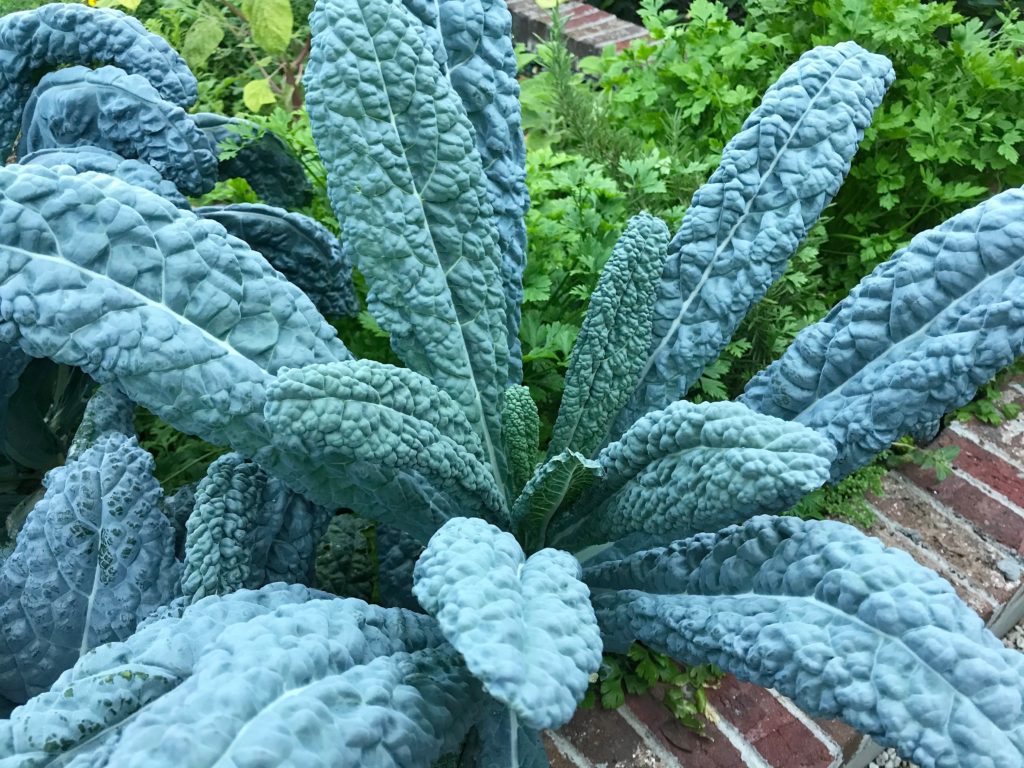
Lacinato kale (aka dinosaur or black kale)

Red or Siberian kale
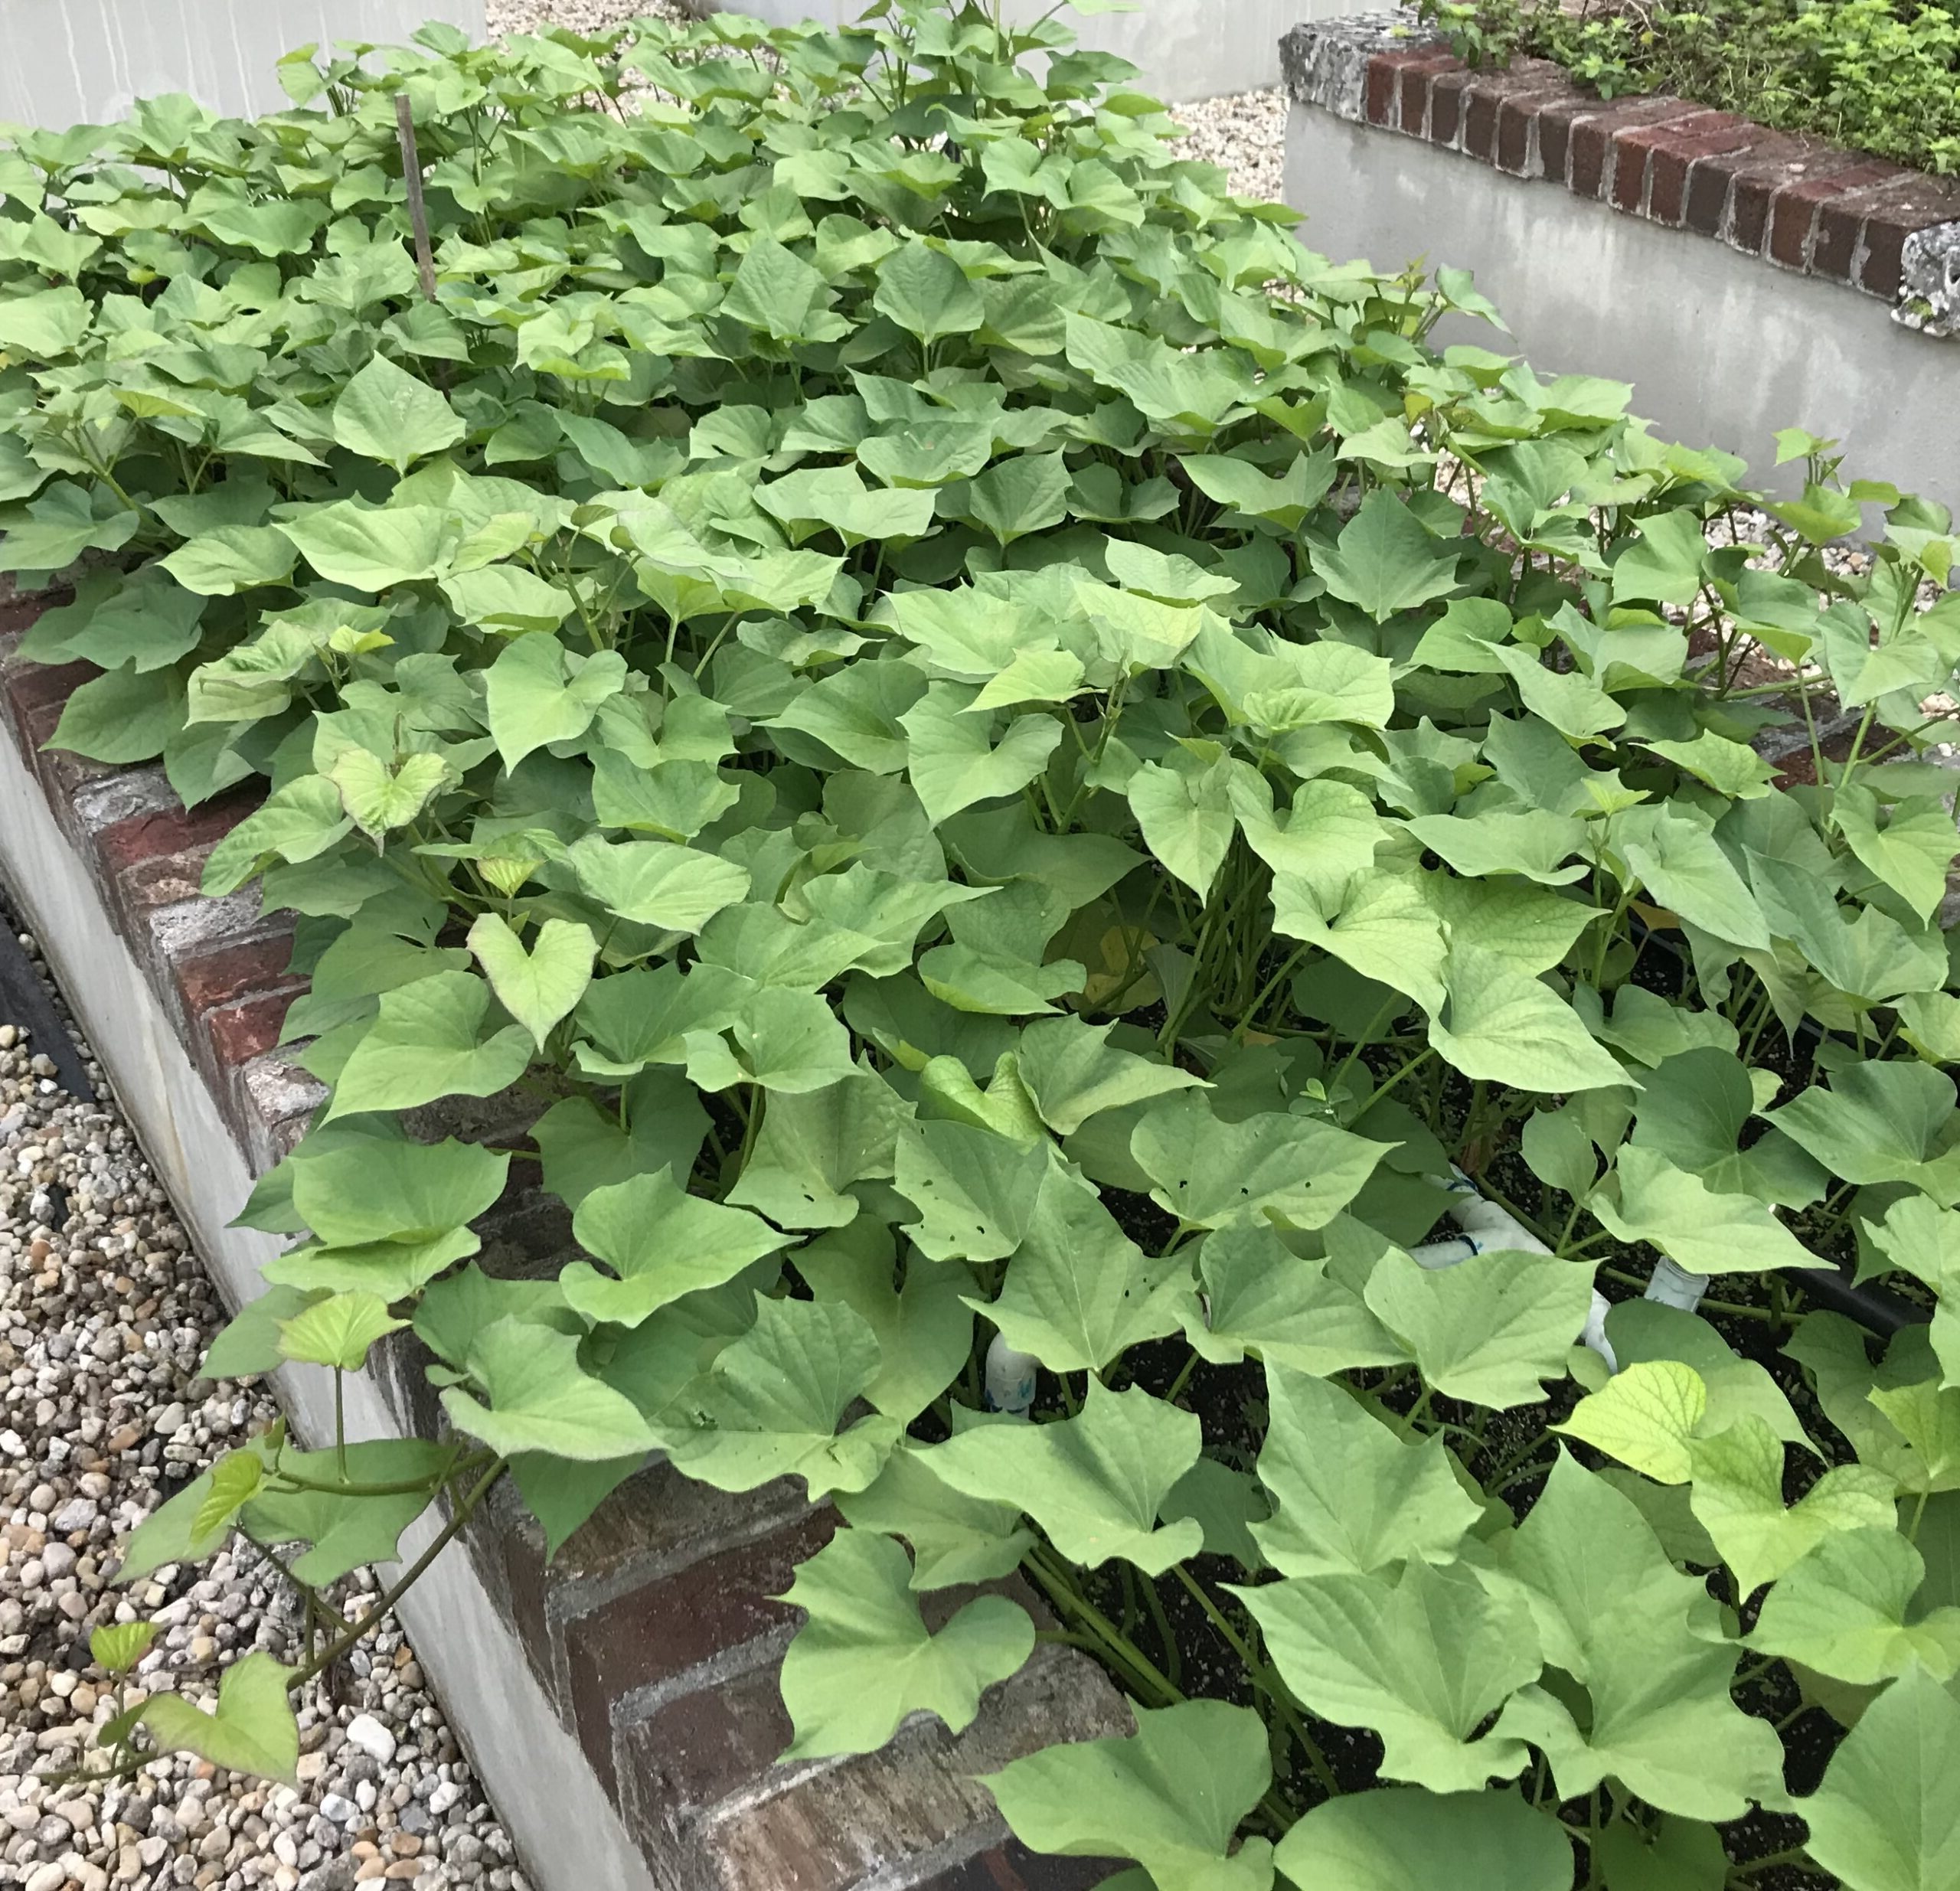
I would guess that most South Florida vegetable gardeners grow kale. It has become so popular over the last decade, whether people are putting it in smoothies, making kale chips, massaging it for raw salads or producing a wide range of cooked dishes with it. Kale is incredibly nutritious, is a very hardy and long-lasting crop, and offers so many versatile uses in the kitchen.
In our organic garden, we typically grow three kinds of kale, as seen pictured: the most popular among our gardeners is the dinosaur or lacinato kale – I prefer this one for many of the cooked dishes I make with kale. We also grow two types of curly kale plants (my favorites for raw kale salads) – the green leafy curly kale and the Siberian or red kale. All three kinds are delicious both raw and cooked and all three are used enthusiastically from our garden. I often add kale to soups and stew (even if not called for in the recipe) as they add a nice, healthy boost. For example, butternut squash, kale and chorizo soup incorporates kale beautifully. And some of us are delighted just to make freshly picked kale a part of our daily steamed veggie regimen.
Kale is a brassica (in the cabbage family), so South Florida is a good home for it throughout the fall-winter-spring season. We have actually managed to keep the lacinato variety going into mid-June or longer some seasons. The biggest issue we have with our brassicas is the infestation of aphids whenever the weather gets a little warm (including now in early April!). Our remedy: spray immediately and repeatedly as needed with a neem oil based mixture; aphids spread quite rapidly but can be stopped with diligent applications.
FENNEL

The Finocchio Sisters
Fennel is such a delightful crop to grow and harvest! First of all, it’s just pretty – having a whole bed of those fronds so full and fluffy. And the reason we have a whole bed of them is this: fennel does not companion well with other plants. Of course we learned this the hard way, when we tried growing it with various veggies and neither the fennel nor the accompanying plants did well. It gets its own bed in our garden, the only such crop, and just thrives that way.
This is a popular item as it’s such a lovely vegetable. While some of our members will cook fennel, I strongly prefer it raw as I believe it loses so much of its wonderful anise-y flavor when cooked. I just love it cut up for salads or in the fennel-walnut dip or wrapped-in-prosciutto appetizers we make. Some of us even use the fronds in recipes.
It’s really cool to let a few of the plants go to seed. That way we get the beautiful flower growth, the pollen (a trendy item these days), and our own seeds to season/cook with, or just plain eat, or to plant next season for a new crop. If you’ve never had fresh fennel seeds – all I can say is, wow! So flavorful and fun to harvest.
STRAWBERRIES
 Strawberries
I do not have a lot to say about growing strawberries other than, as quite the amateur with this fruit, “We did it!” – because we have tried growing them during a few other seasons and have only gotten a few stunted strawberries. However, now is the time (before the coming fall season) to research the best methods for growing them, and how to do so organically in our climate. We seemed to do fine with our lack of knowledge about growing methods for them this year – and have gotten some nice beautifully ripe berries. Onwards to growing more next year and doing a better job at it!
Just to note: We did start them from plants that we bought at Tree Amigos Plant Nursery in Davie. The starters took right away to our organic soil and thrived without any issues all season. We want to learn how to plant them in rows and mounds and care for them properly so that we get a good yield. I can’t tell you how fun it is to see them grow, how when we enter the garden we all race right to the strawberry bed to check on their progress and hopefully snatch a fresh berry. Having grown up here in South Florida, and picking loads of strawberries with my Mom every season, I have the fondest memories of those big, juicy, ripe berries. Now to achieve that organically would be a feat!
SWISS CHARD

Swiss chard
Chard is a beautiful plant that grows fairly well here in South Florida. We’ve found that it works to get it going both in starter flats and directly seeded into our garden beds. Starting them in flats and then transplanting to four inch pots tends to give them a leg up in their beginning growth, and the transplants then do well in the garden. It is a slow-growing plant overall, well worth the wait to maturity.
When harvesting chard, we take the outer, larger leaves and leave the inner smaller ones to further mature. That way, each plant can give us a harvest for at least a few months. Leaves are clipped near the bottom of the stem. Chard plants benefit from a moderate amount of watering, and occasional fertilizing or “dressing” with compost around the roots of the plant to add nutrients to the soil.
Chard has not really taken off in popularity among our gardeners in general, though a few of us like it a lot. I think that is partly due to not knowing what to do with chard as it is not as commonly found in dishes as are spinach, kale, cabbage, etc. Chard has what I would call an “earthy” taste; I love to eat it sauteed, either alone (with lots of chopped onions) or in a mix with other greens. Chard cooks down quite a bit, like spinach, so you need a lot to have a solo dish of it. The stems, however, are often cooked and used as well – when you have rainbow chard, the stems and leaves combined make quite a colorful dish.
A few of my favorite recipes come from Yotam Ottolenghi’s cookbook Plenty. This is a fabulous cookbook for vegetarians or just plain vegetable lovers. I’ve made his “chard cakes with sorrel sauce” – what’s cool is that we grow sorrel too (though you can easily vary the sauce). My absolute favorite (and my family’s) is his “Swiss chard, chickpea and tamarind stew” – which has a wonderful, unique flavor. Another tasty use of this leafy vegetable is to make a bacon & chard frittata – such a flavorful combo. Of course, there are many different ways to use chard – there’s a whole new world to explore out there for the curious minded!
STRIPED HEIRLOOM TOMATOES

Striped heirloom tomatoes
Yes, more tomatoes! Though I wrote about tomatoes in my last post about spring harvest, I just cannot resist showing off these beautiful striped heirlooms – I mean, you just get inspired when you pick them, they’re such a beauty of nature! And tasty too!
Heirlooms tend to be difficult to grow if you want to do it organically here in South Florida – it’s a lot easier when you douse them with chemicals but we don’t go there. For some reason, we’ve had a fairly good run with these crops this year without much trouble, though admittedly we got some type of wilt (fusarium?) midway through harvesting time. We cleaned them up repeatedly and they hung in there to give us a good harvest, despite the loss of much of their leaves. Overall, it has shortened their season somewhat, but we were grateful for the beauties we did get. And just yesterday, we did find that one of the plants is mysteriously still setting fruit in spite of our rapidly warming climate!
The yellowish-green ones in the photo (green zebras) are very interesting. They grow as beautiful bright green fruits, and then start to turn yellowish – an indication of ripening. They’re harvested when turning yellowish and just beginning to soften; wait too long and they will be mushy.
After our last gardening session, I found myself with enough tomatoes (adding in a few harvested at home as well as some canned San Marzanos) to make some roasted tomato soup. It was delicious! I will say, though, that I don’t make it too often because peeling the roasted tomatoes is quite laborious – a labor of love, as they say. My fellow gardeners chided me for actually peeling them, instead of throwing it all into the blender. Well, maybe I’ll try that next time & see how I like it, “we’ll see.”

Fresh tomatoes ready for roasting
ONIONS/SCALLIONS

Onion/Scallions
First of all, the reason I’ve titled this onions/scallions is because we grow something in between the two. We would like for them to be onions but they honestly end up as more like very large scallions without a distinctive bulb. There is a reason for this, which I believe is the level of pH in our soil. Our pH is notoriously high, which is very common for south Florida by the way – and that is not conducive to growing root vegetables. We have given up on beets and turnips, for example, as a result of this – we get the tiniest root vegetables and it’s so not worth wasting the space for this consistently disappointing outcome.
Yes, we have tried to lower the pH – but this is a long process and cannot be achieved instantaneously. There are many crops that do well in the pH level we have, so that we’ve pretty much resigned ourselves to what grows best here. Although I must say I get very jealous when my sister, who spends her summers in Maine, sends me pics of beets you could practically bowl with. She even shipped me some last year to make me feel better! So yummy!
So back to our onions/scallions – we grew a respectable crop this year and enjoy cooking with them. The are a great addition to our mid-spring harvest; you know they’re ready when they begin popping out of the ground, almost begging to be picked. You can use them as either a scallion or an onion; I find the taste tends more towards scallion (not sweet).
How to start them? We order onion “sets” (which are just the tiniest little onions) online – a variety of colors if we can. It used to be that we couldn’t find sets anywhere, in stores or online, in the fall. South Florida’s planting season which begins in the fall is the reverse of the rest of the country, which is very frustrating sometimes when ordering seeds and looking for starter plants! But we luckily found them at Gurney’s Seeds – two years in a row now – where we can purchase them in the early fall. Now, this season’s few leftover sets will keep in the refrigerator until next season as long as they are kept dry.
When planting the sets, you put them directly into the bed root down and leave just the tiny little sprout at the top peeking out of the soil, and water well. It’s amazing that within a day or two they really take off, shooting straight up towards the sky!
We are a small group of South Floridians who share a love of organic gardening, cooking and leading a healthy lifestyle. We garden together in Miami on a weekly basis year round, and enjoy the labor, harvest and feeling of community that this provides us. We are learning together what it means to grow food in South Florida, with our unique climate and seasons, which are so different than the rest of the country. This website is a venture in sharing information and resources relevant to gardening (and enjoying the harvest) in our South Florida environment. We hope you will find it useful!